Description
Hey, I have been around for a while, and thought i'd share a tutorial I made back in 2013. Enjoy- I know it will help one of you out, at least!
Objective:*Creating a custom 2D (or 3D if you can model well) Character selection screen.
*
Requirements:*
*
This Download
A good quality image you want to use for background
Photoshop
----
*
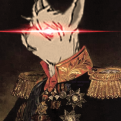
Today we will be creating something similar to this:*
(With your own image of course!)
*
I found that the Wow Credits folder is a VERY nice source for finding nice stock images, since they are all cut up into usually 6-10 pieces. (You will know what i'm talking about in a second)
*
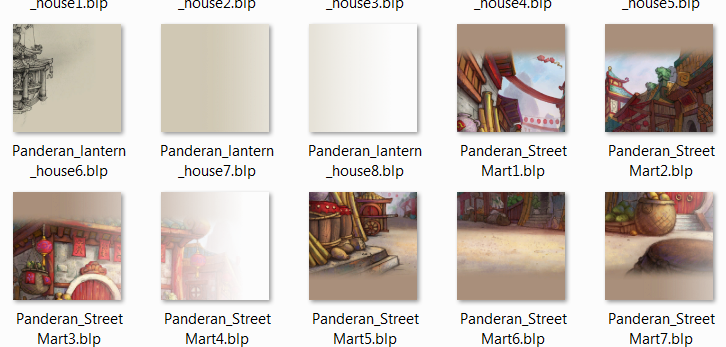
I've extracted the 5.2 and the 5.3 PTR, so I have the Pandaria and the Cataclysm Folder aswell, and for this example, i'll be using a image I found the the Mists of Pandaria folder.
*
Specifically, these:*
*
*
(These are provided in the download above.)
*
*
Now, Let's Get Started!
*
----
*
First open up "Background Tutorial" Folder, and navigate through the folders until you see the "MODELS" Folder.
*
Open this, and you will see two different UI Folder.
*
We will be editing the "UI_PANDAREN" Folder.
*
Do NOT *Edit the "UI_Bloodelf" Folder.
*
Also, please note, that this tutorial will be guiding you through how to change the background for a Bloodelf, but this process can be used for any race, just change the Folder name to the desired race, and just rename the M2 File, and the skin files in it to the desired Race's.
*
*
*
(  )
)
*
*
Back on topic:
*
In the "UI_PANDAREN" folder, you will see this:
*
*
Convert all the "UI_PANDAREN_BG#" into Png, using the BLPConverter.exe, Then open the PNG images in Photoshop.
*
And then open a new Photoshop file with the dimensions 3000x3000, and background must be set to transparent
*
*
Now, I really liked those puzzles where you connected small pieces together to make one big picture.
Yea, you have to do that...
*
Until you get...
*
For this tutorial, i'll use a picture of the World tree to demonstrate how it's done..
*
http://www.wallpea.com/wp-content/uploads/2013/05/76693.jpg
*
---
*
*
*
Open the image in a new layer.. and Scale it to the side of the Puzzle combined..
*
You should now have layers that look similar to this:
*
Do NOT Merge the puzzle pieces into one layer
*
---
*
*
Now, I cut up the image into the appropriate sections, and I will now place the Image I want, ontop of this Old puzzle pieces..
*
*
Now Select the top layer of the first of the puzzle pieces and switch layers to the Top right side, While still having the Section selected..
*
Now just paste the section over the original top Left image... and you should get something similar..;
*
now do this for the rest of them..
*
---
*
I finished, and now I have this..
*
We will now save them all and Convert them back to a BLP format...
*
And we have this...
*
*
now drag them into your UI_PANDAREN Folder, and replace the old ones.
*
Your folder should look something like this:
*
*
And the Finished Product....
*
(Of course this is a low quality example, Your's should be better..
*
*
*
And this is basically how this works.. Good Luck and stay creative!
-
 1
1
-
 1
1
Recommended Comments
Create an account or sign in to comment
You need to be a member in order to leave a comment
Create an account
Sign up for a new account in our community. It's easy!
Register a new accountSign in
Already have an account? Sign in here.
Sign In Now