
Description
FULL WALKTHROUGH for 1 ADT:
Use any Terrain Editor that you want, i recommend:
There are two tools Included, THEY ARE NOT MADE BY ME:
(Had some Problems with Upload so i included the GDRIVE: (https://drive.google.com/drive/folders/1-fX4DQobVAS2P0s0BGLThIH6sj0P86v4?usp=sharing)
ObjtoADT and (FUTA) ill Inculde these Tools are included inside the Package
HOW DOES IT WORK ?
It uses the two main keys for great Terrain Generation
OBJtoADT to print Model Height Data into an ADT.
Futa to Extract all 3 Layers into an ADT.
HOW TO USE ?
Firstly you need to Generate a Terrain through your Favorite Terrain Generator, i use Gaea:
So i split the Terrain into 4 Pieces
Heightmap:
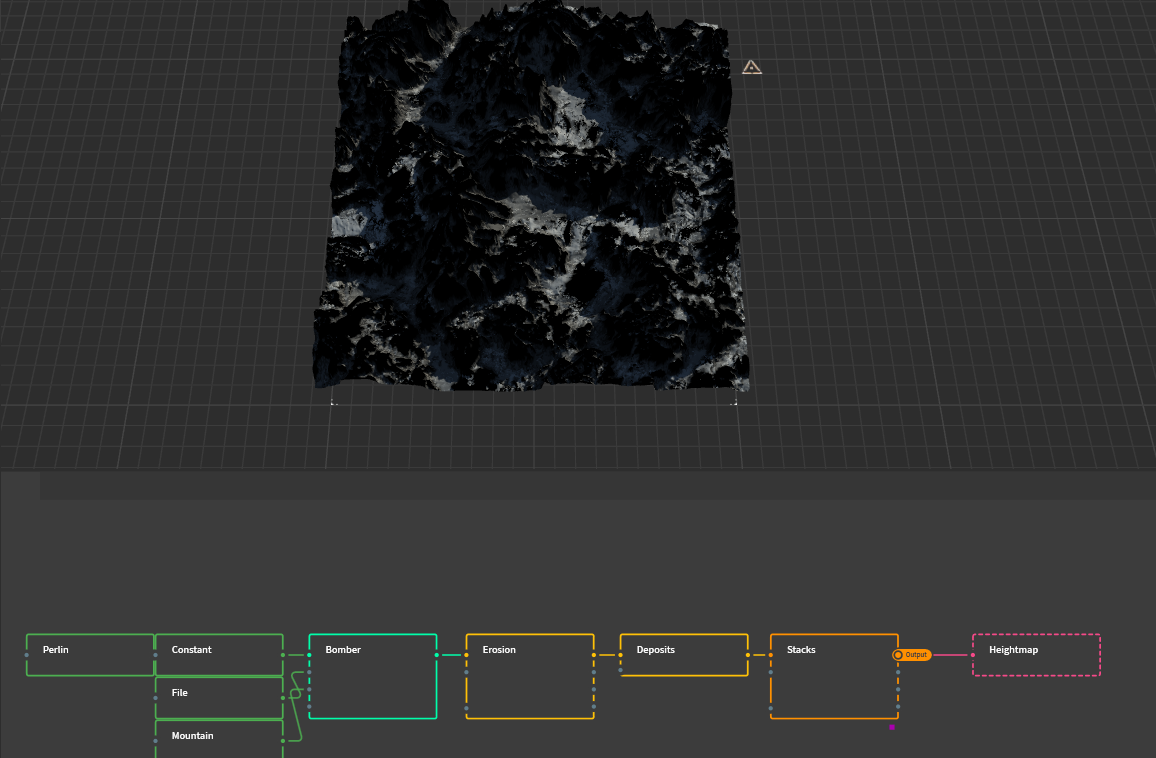
and the 3 Layers:
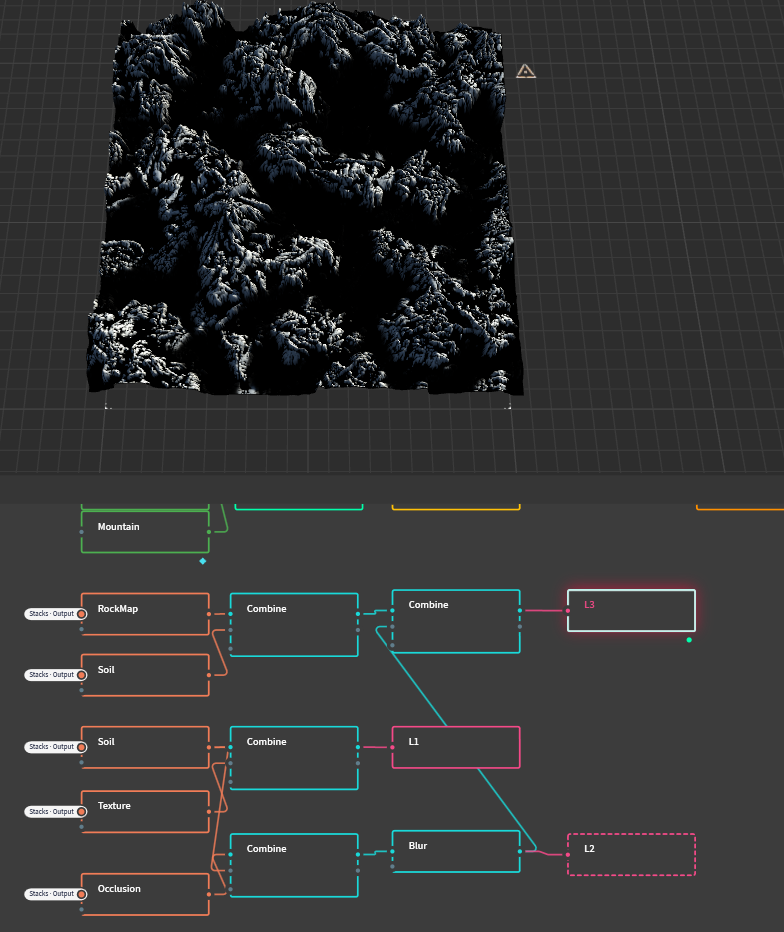
So i have 4 Outputs:
Heightmap, Layer1, Layer2 and Layer3.
(1024 Heightmap and 4096 Layer1-3 Textures) 1k and 2k works aswell with the standart edition but loose a bit of quality.
As soon you have those Raw Files you need to Convert the Heightmap into an 3d Object with the ADT4x4 file Through The Displacement Modifier:
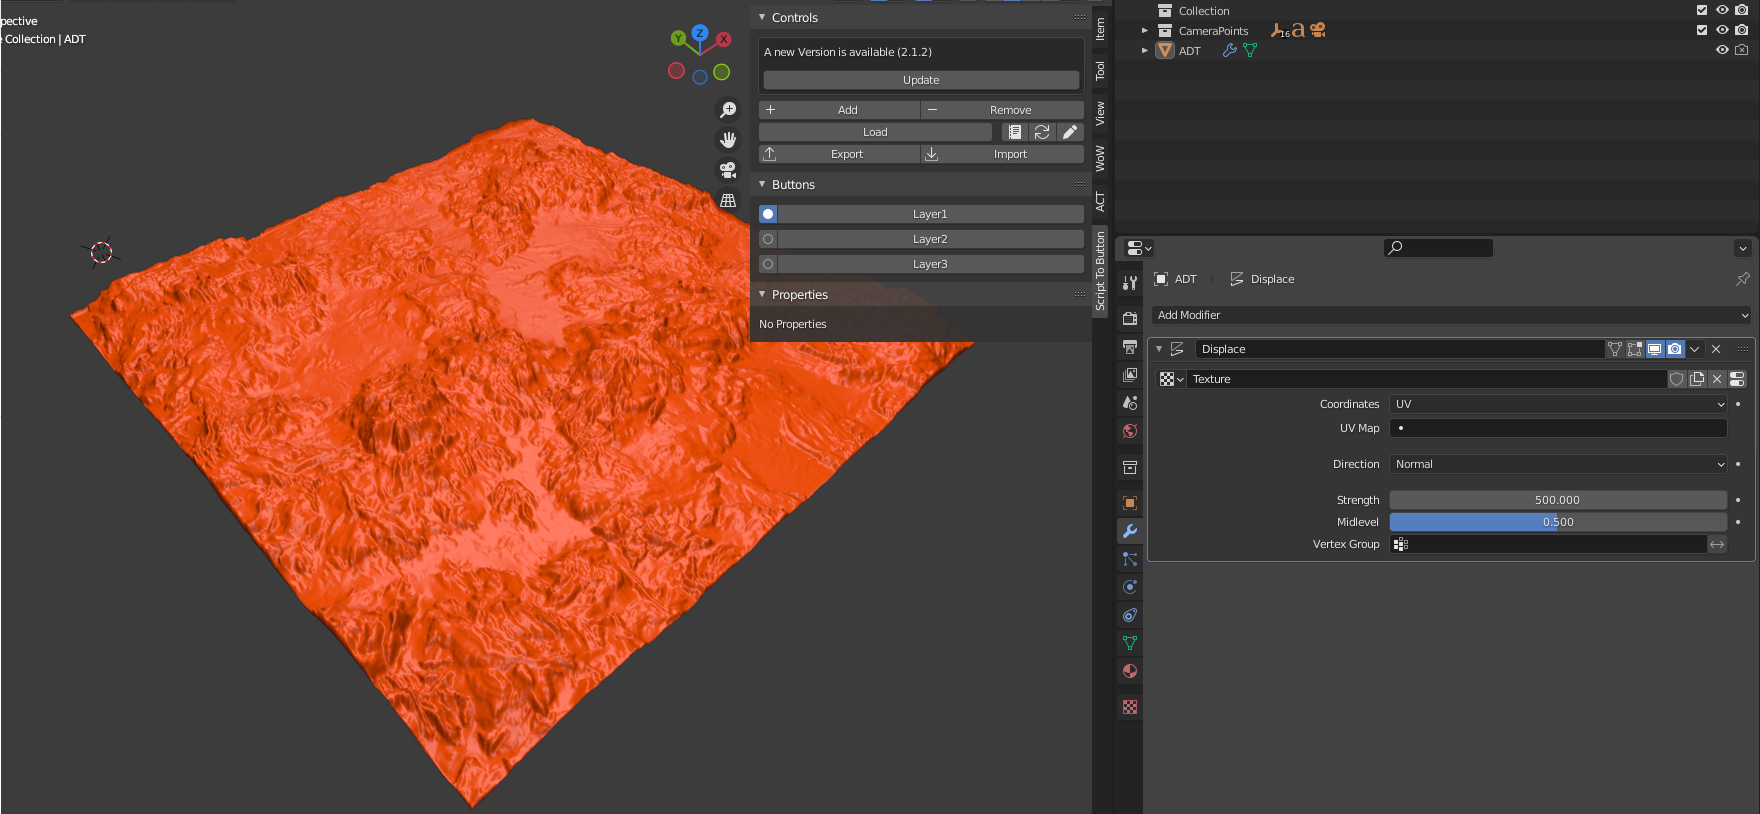
As soon youre done accept the modifier and copy the object into the OBJtoADT File:
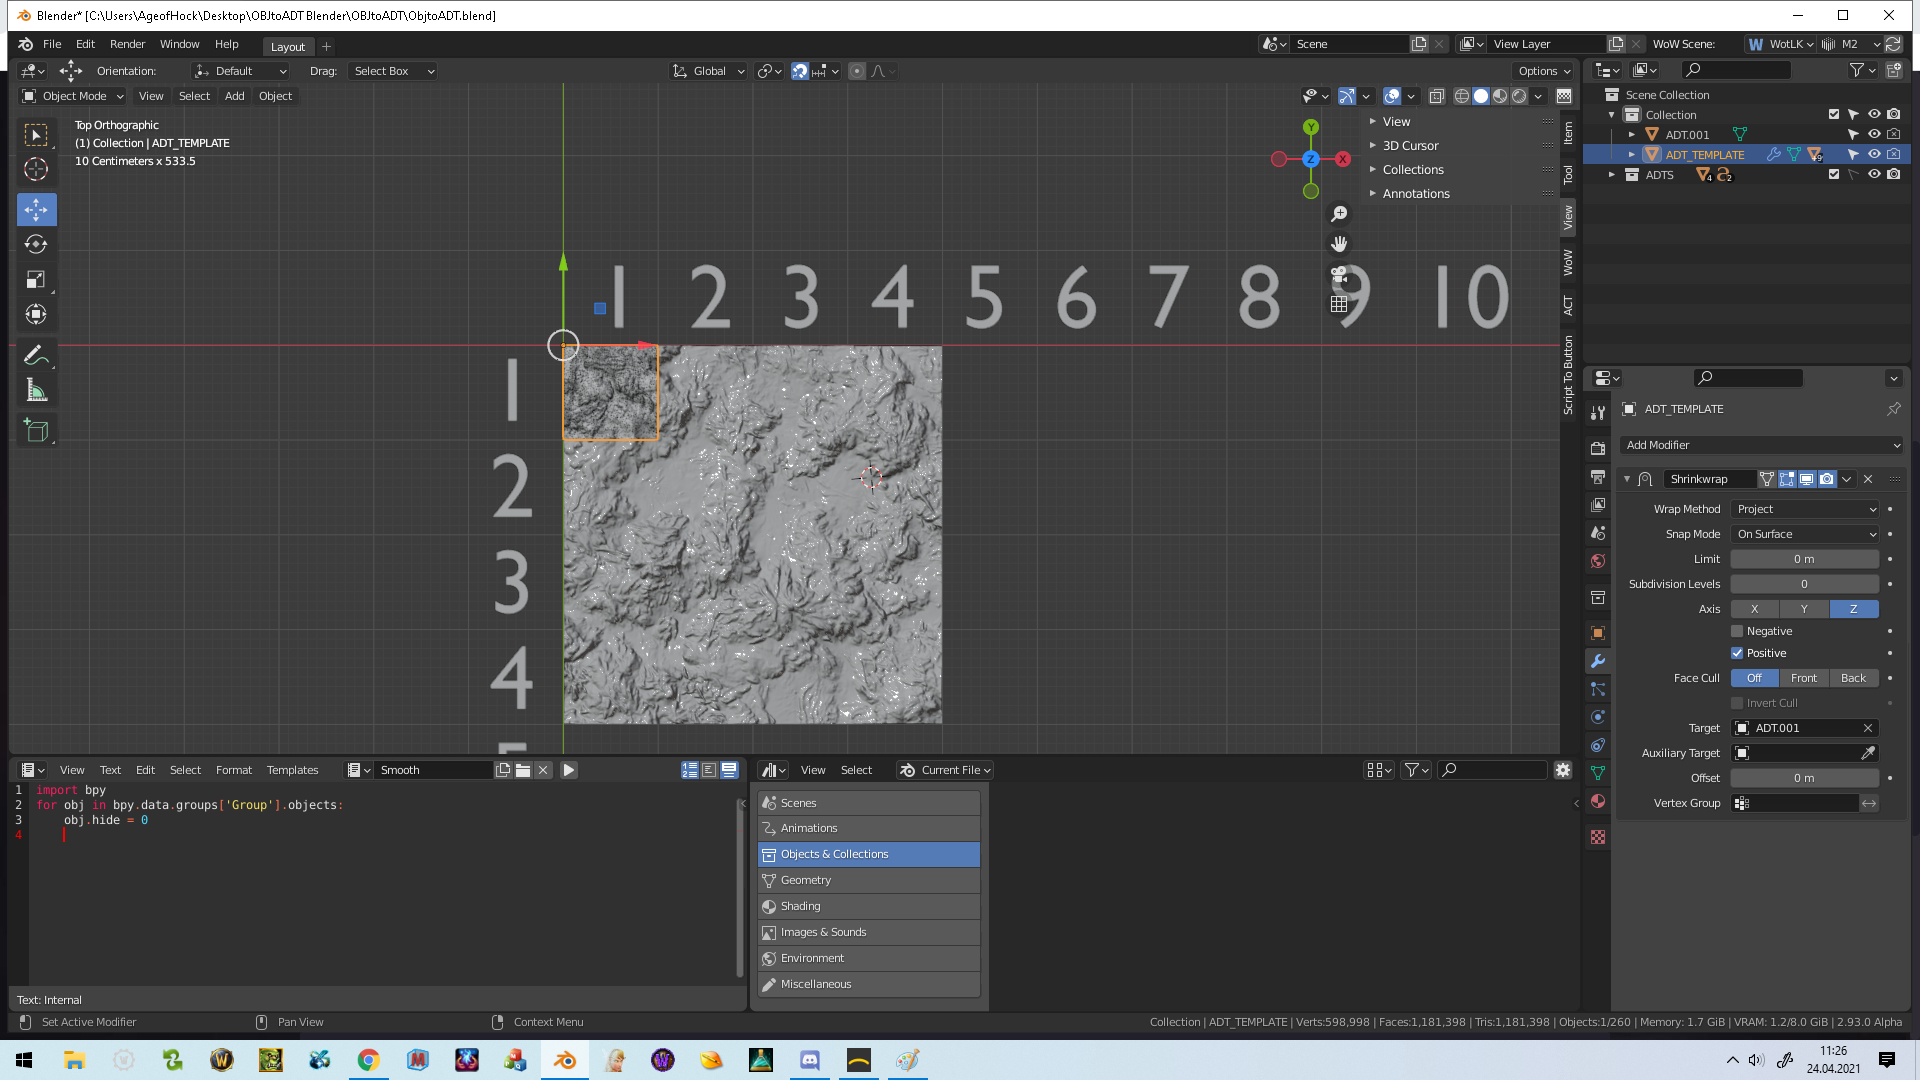
Select the ADT_Template and Set Target inside the Modifier and Select your Terrain.
IMPORTANT: Now you need to lock every object or Hide them and only export the Objects from the Modifier like this
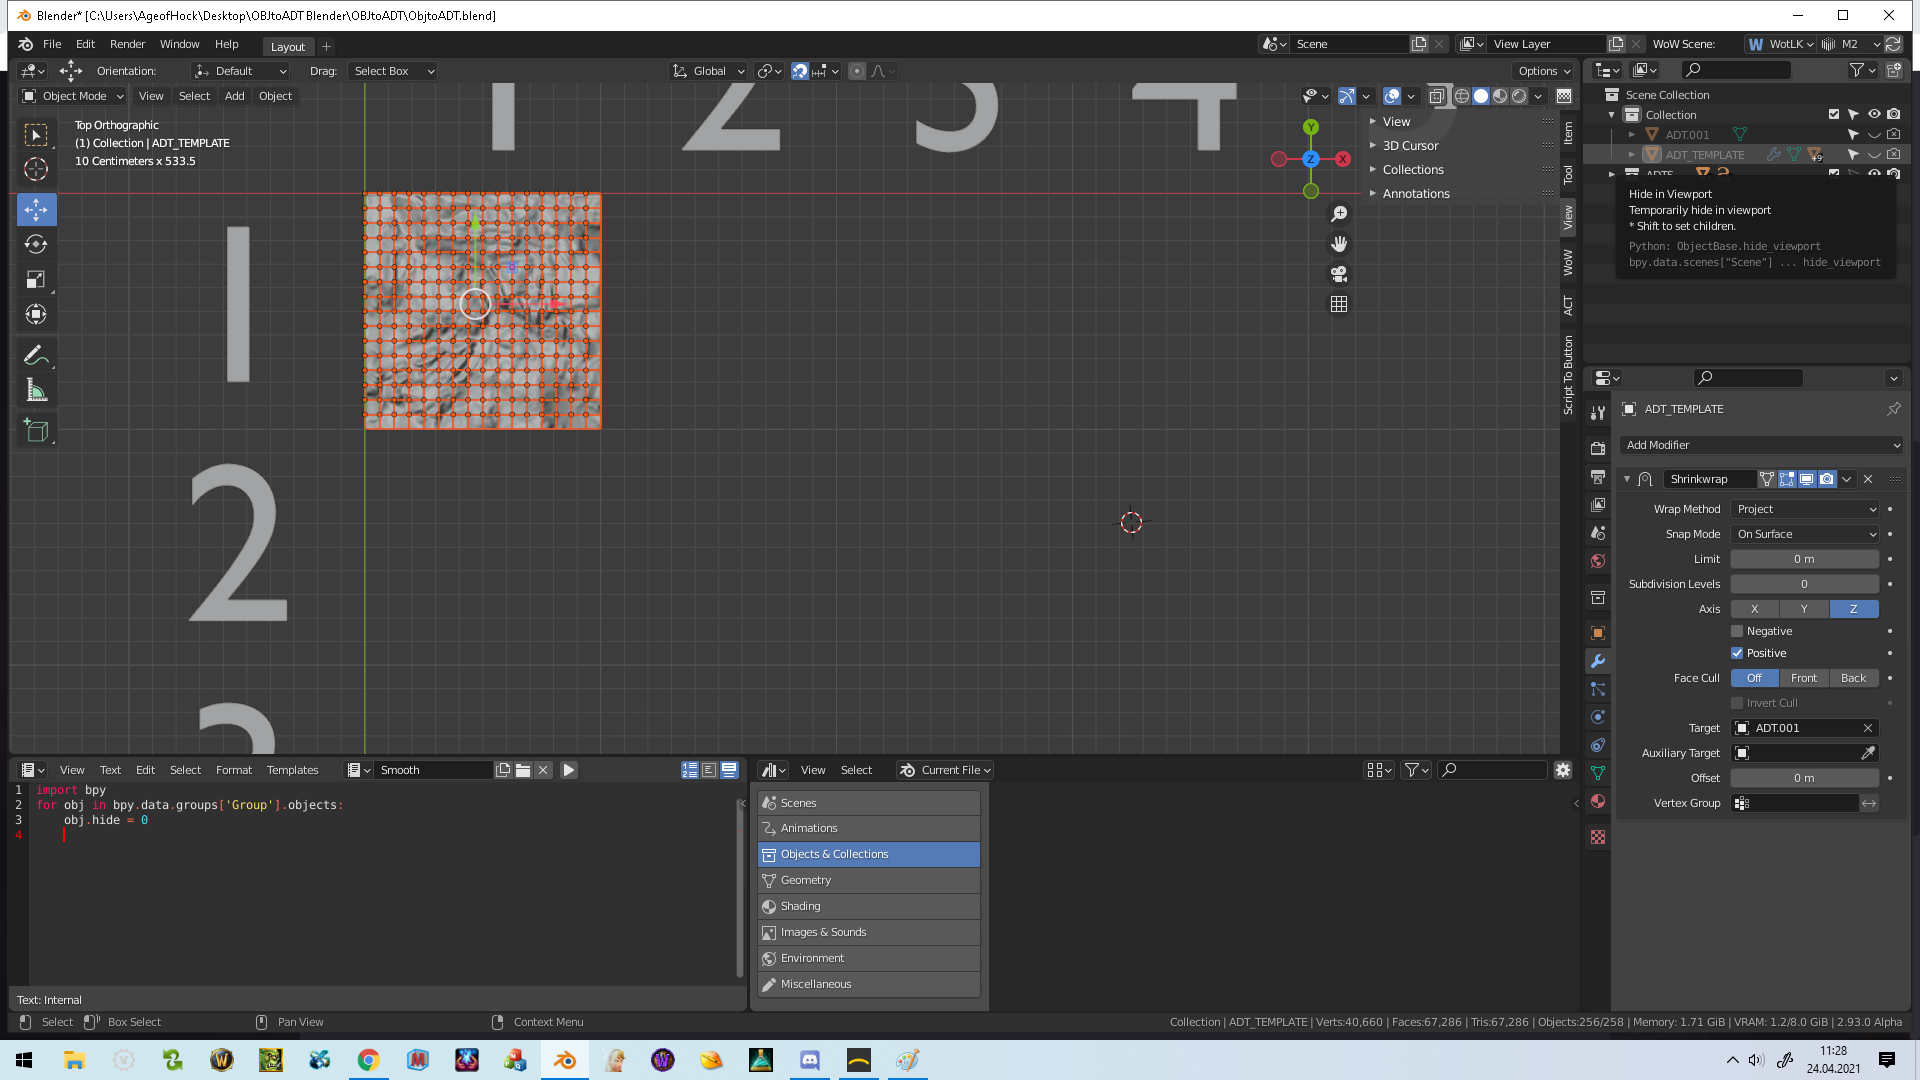
The ADT_Template needs to be Hidden and press a to select everything now only the Objects from the Modifier Should be selected and Export the Object after the settings in the Folder:
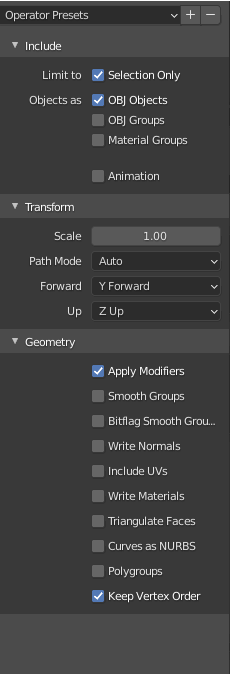
It should be named after your ADT File as an example NAME_1_1.obj -> NAME_1_1.adt you need todo that for every ADT Piece save it inside your OBJtoADT Folder and as soon you have it you need to put your Empty ADT Files inside that folder and run the OBJtoADT.bat which prints the Data inside your ADT.
Put your ADTs back and open Noggit and Add 3 Textures with it.
Open TerrainTextureGen i recommend adding the Addon ScriptstoButton there are 3 Scripts included you only need to Change the Path and press the Button to generate Layer1-3 Files otherwise they overwrite eachother.
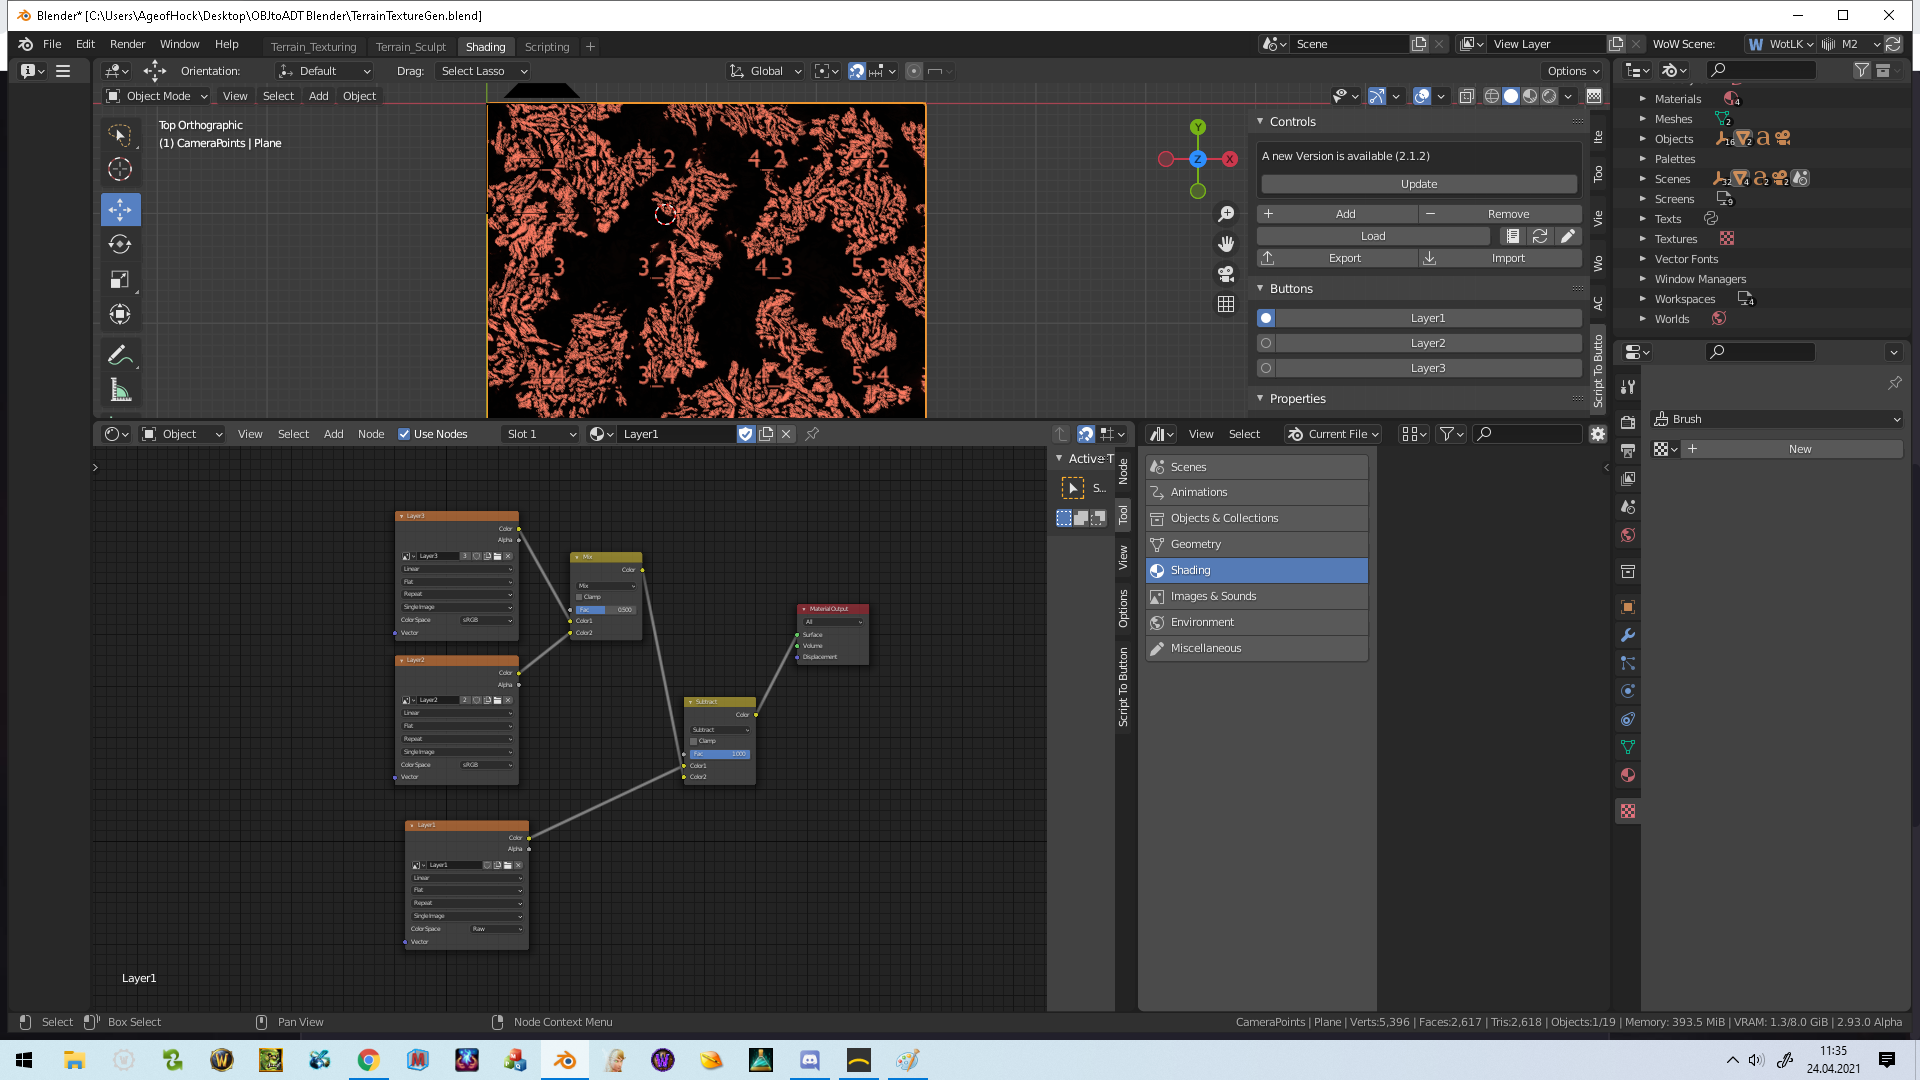
You only need to Add your Textures inside the Given Image Nodes we have 3 Materials for Every Layer. Select the Material and click the Button Layer 1 it saves all 16 Textures in the Path you set inside the Scripts. Select the 2nd Material and button Layer 2 the same for the 3rd. The last step is to open Futa and import the Single images for all 16 ADTS.
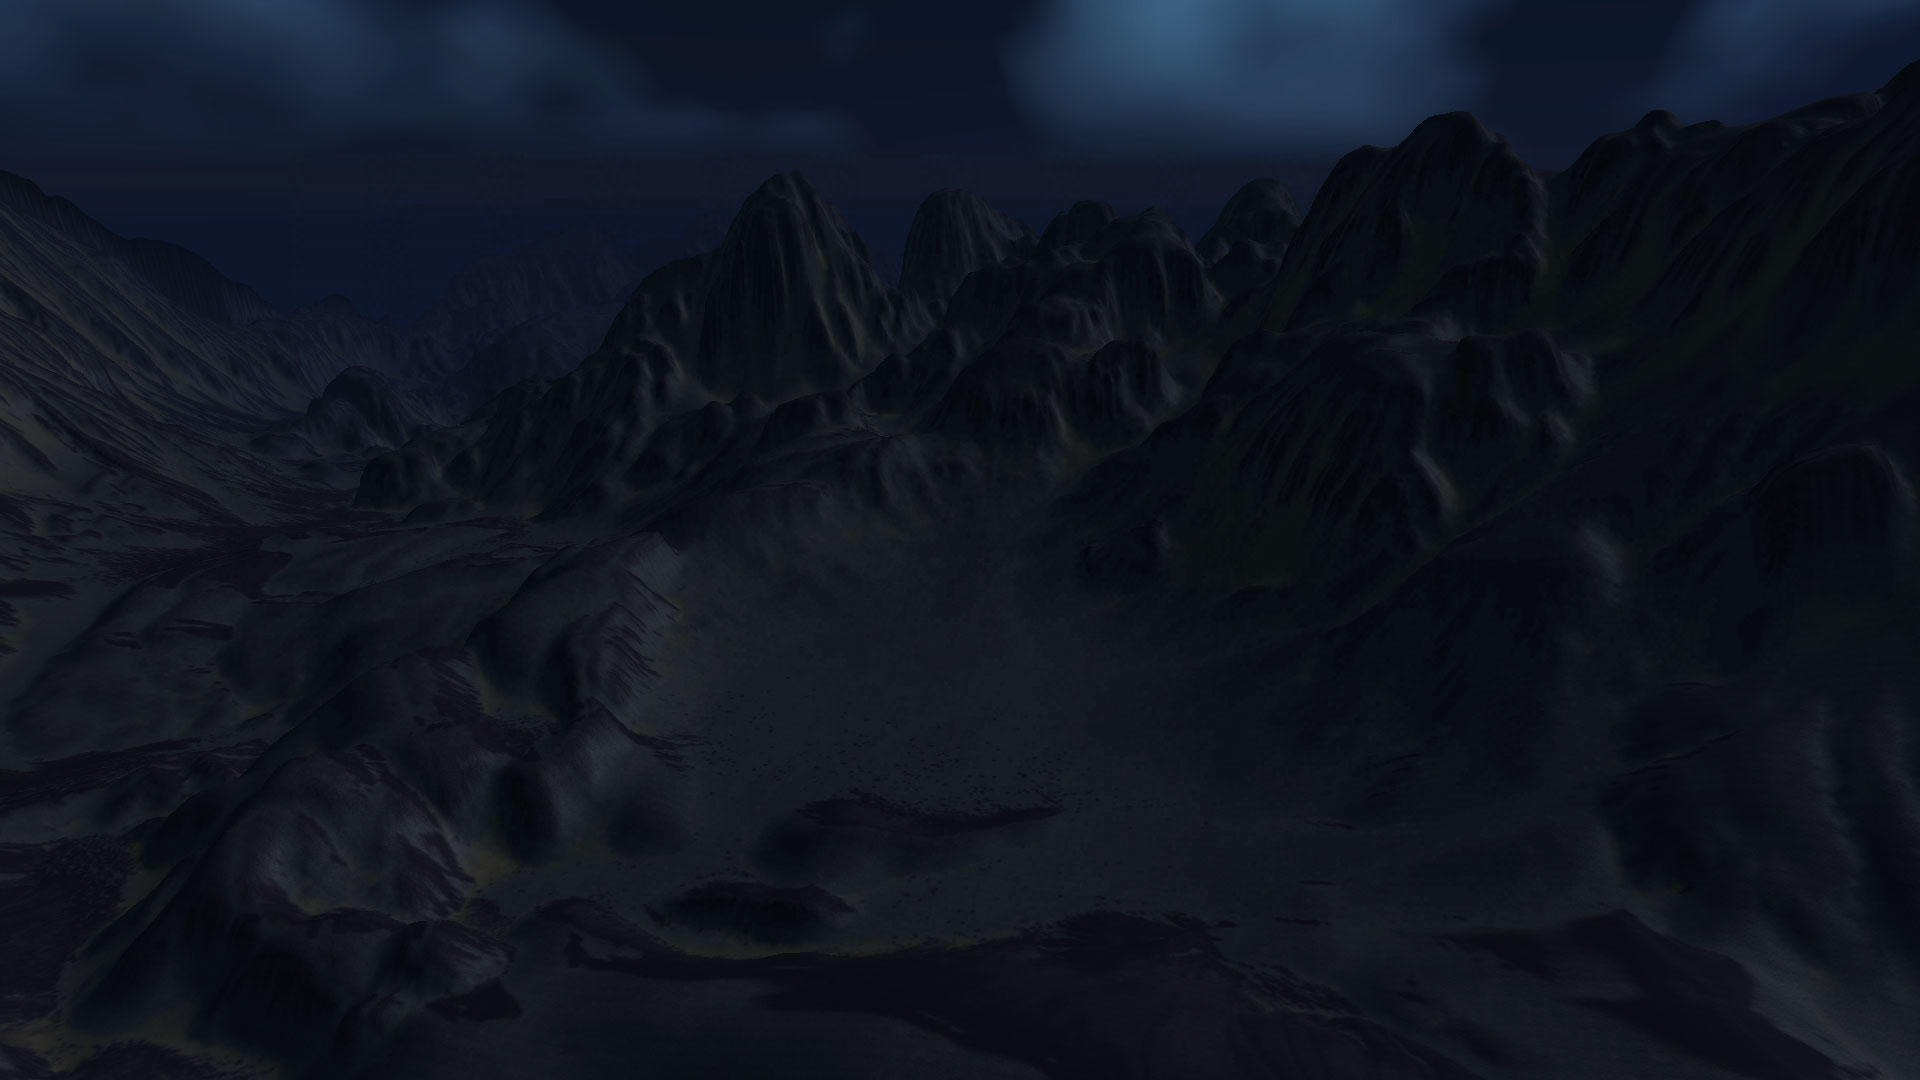
Thats it, some Result Pictures:


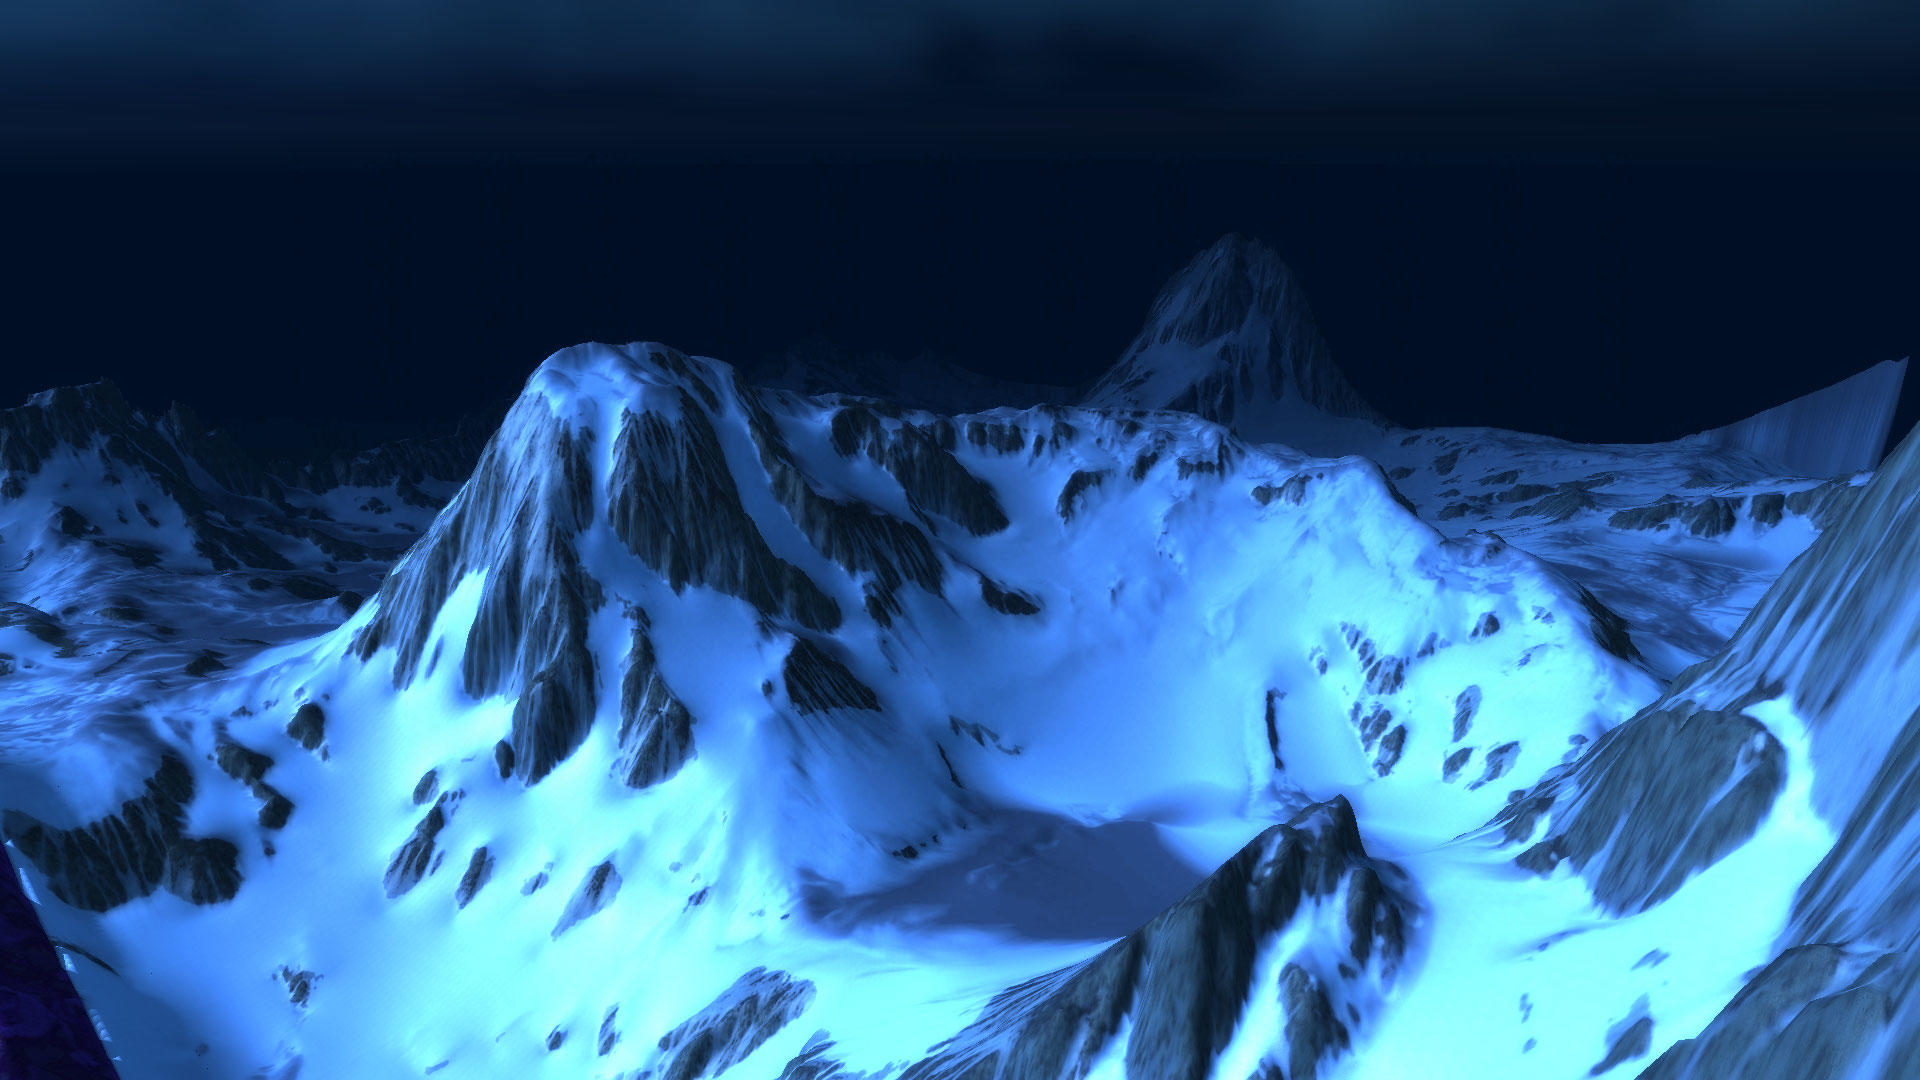
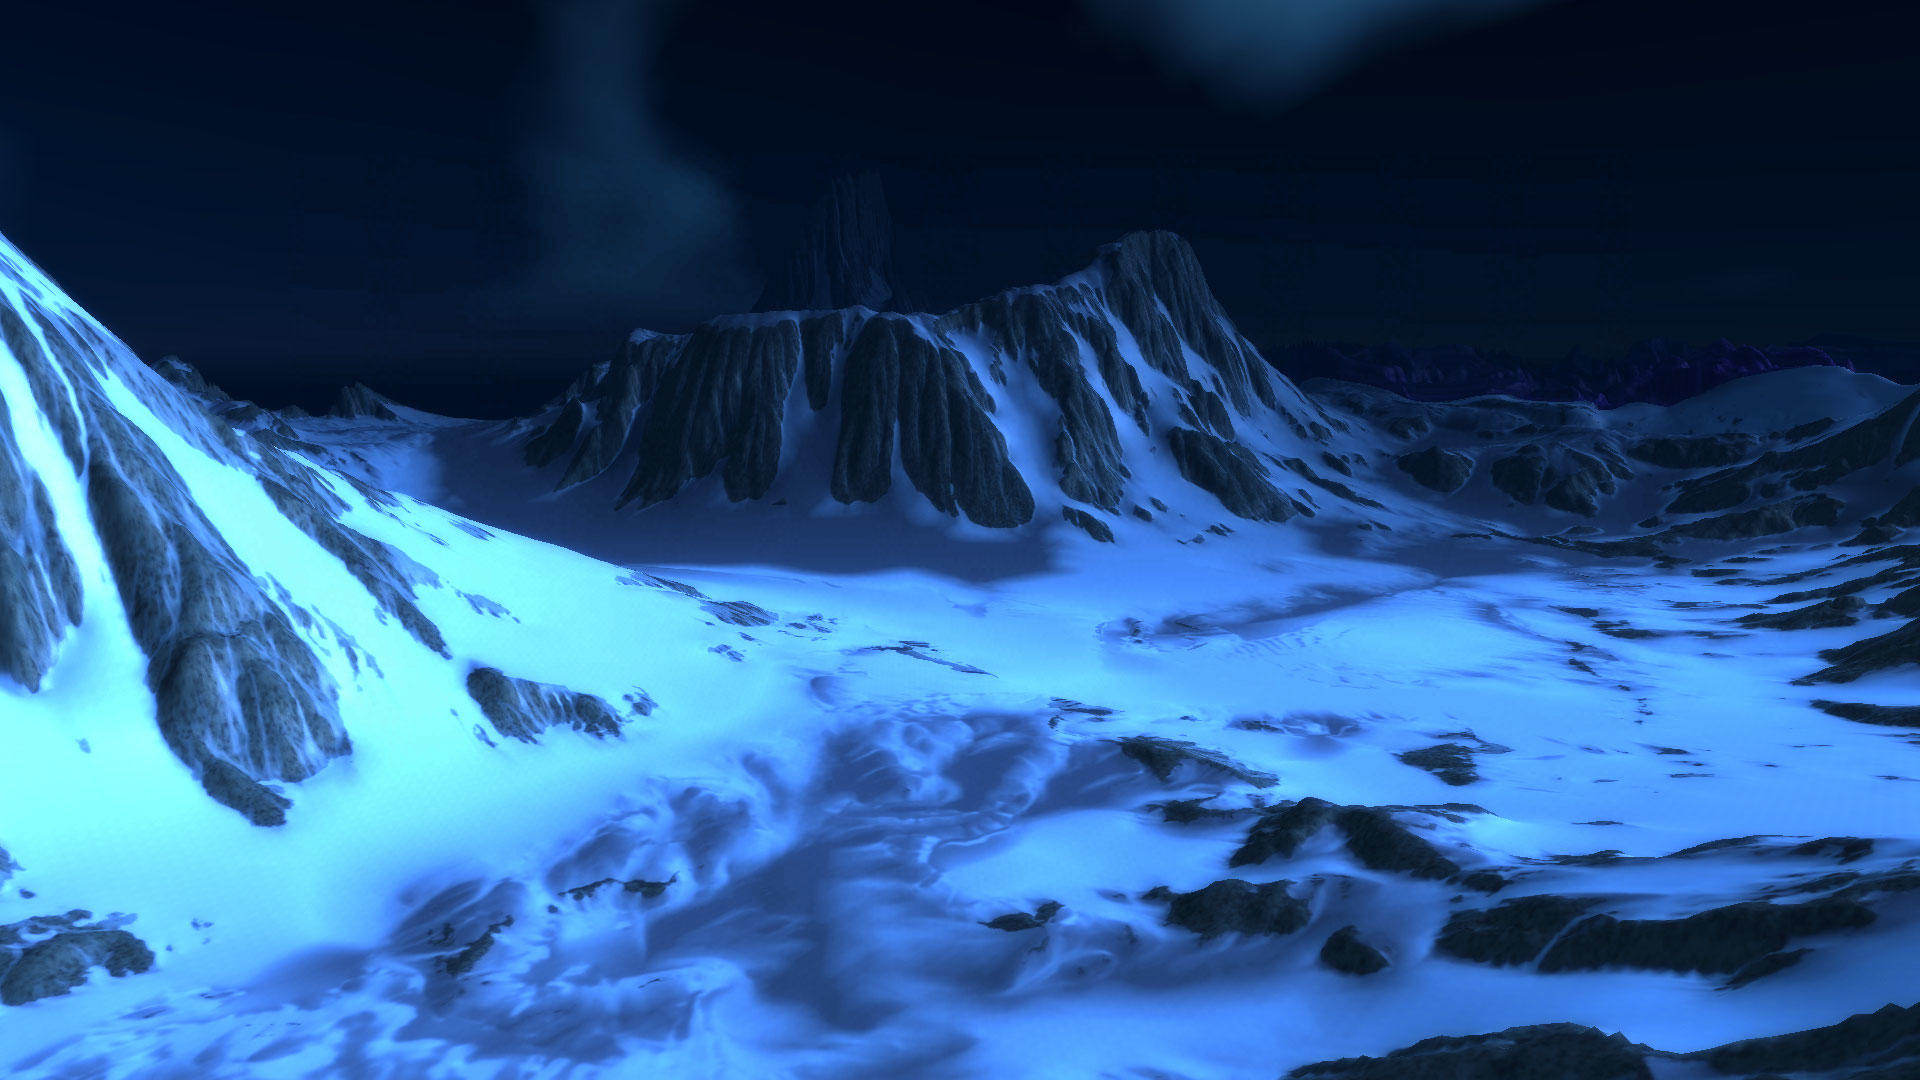

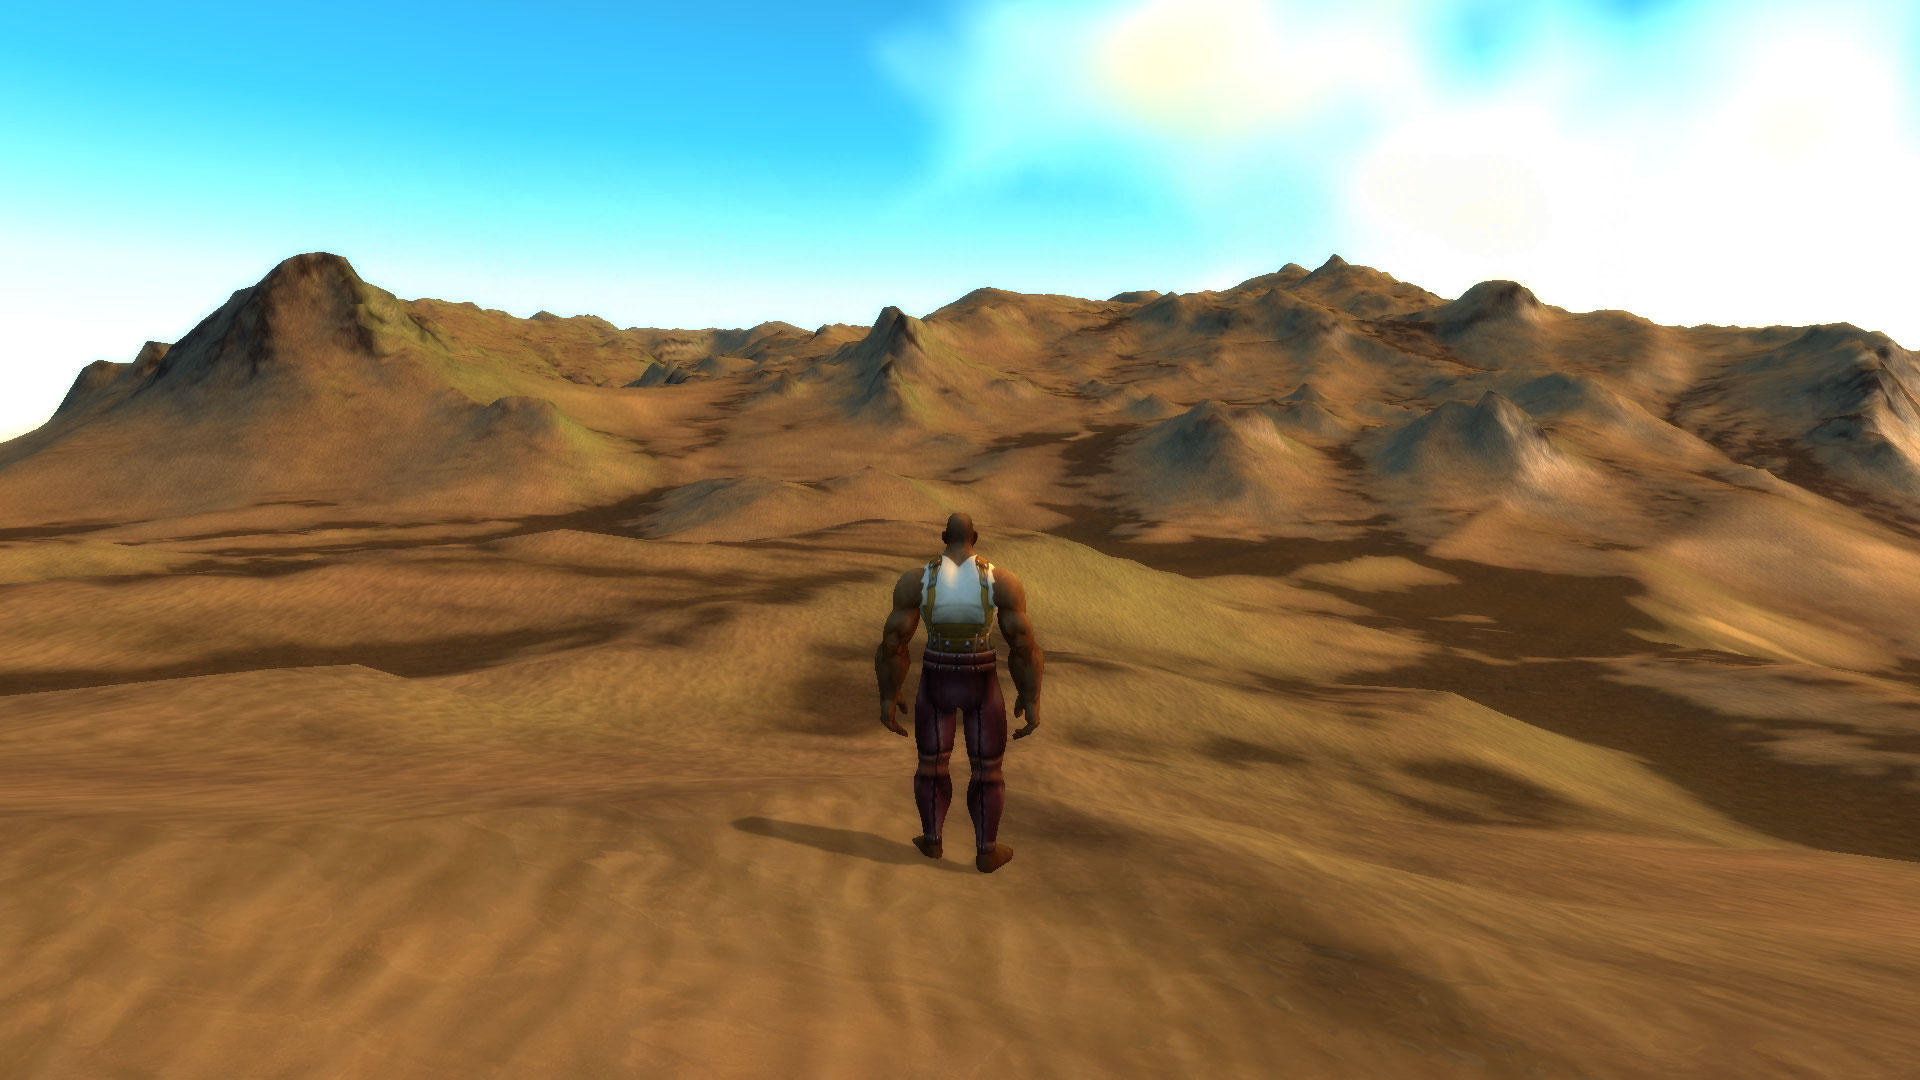
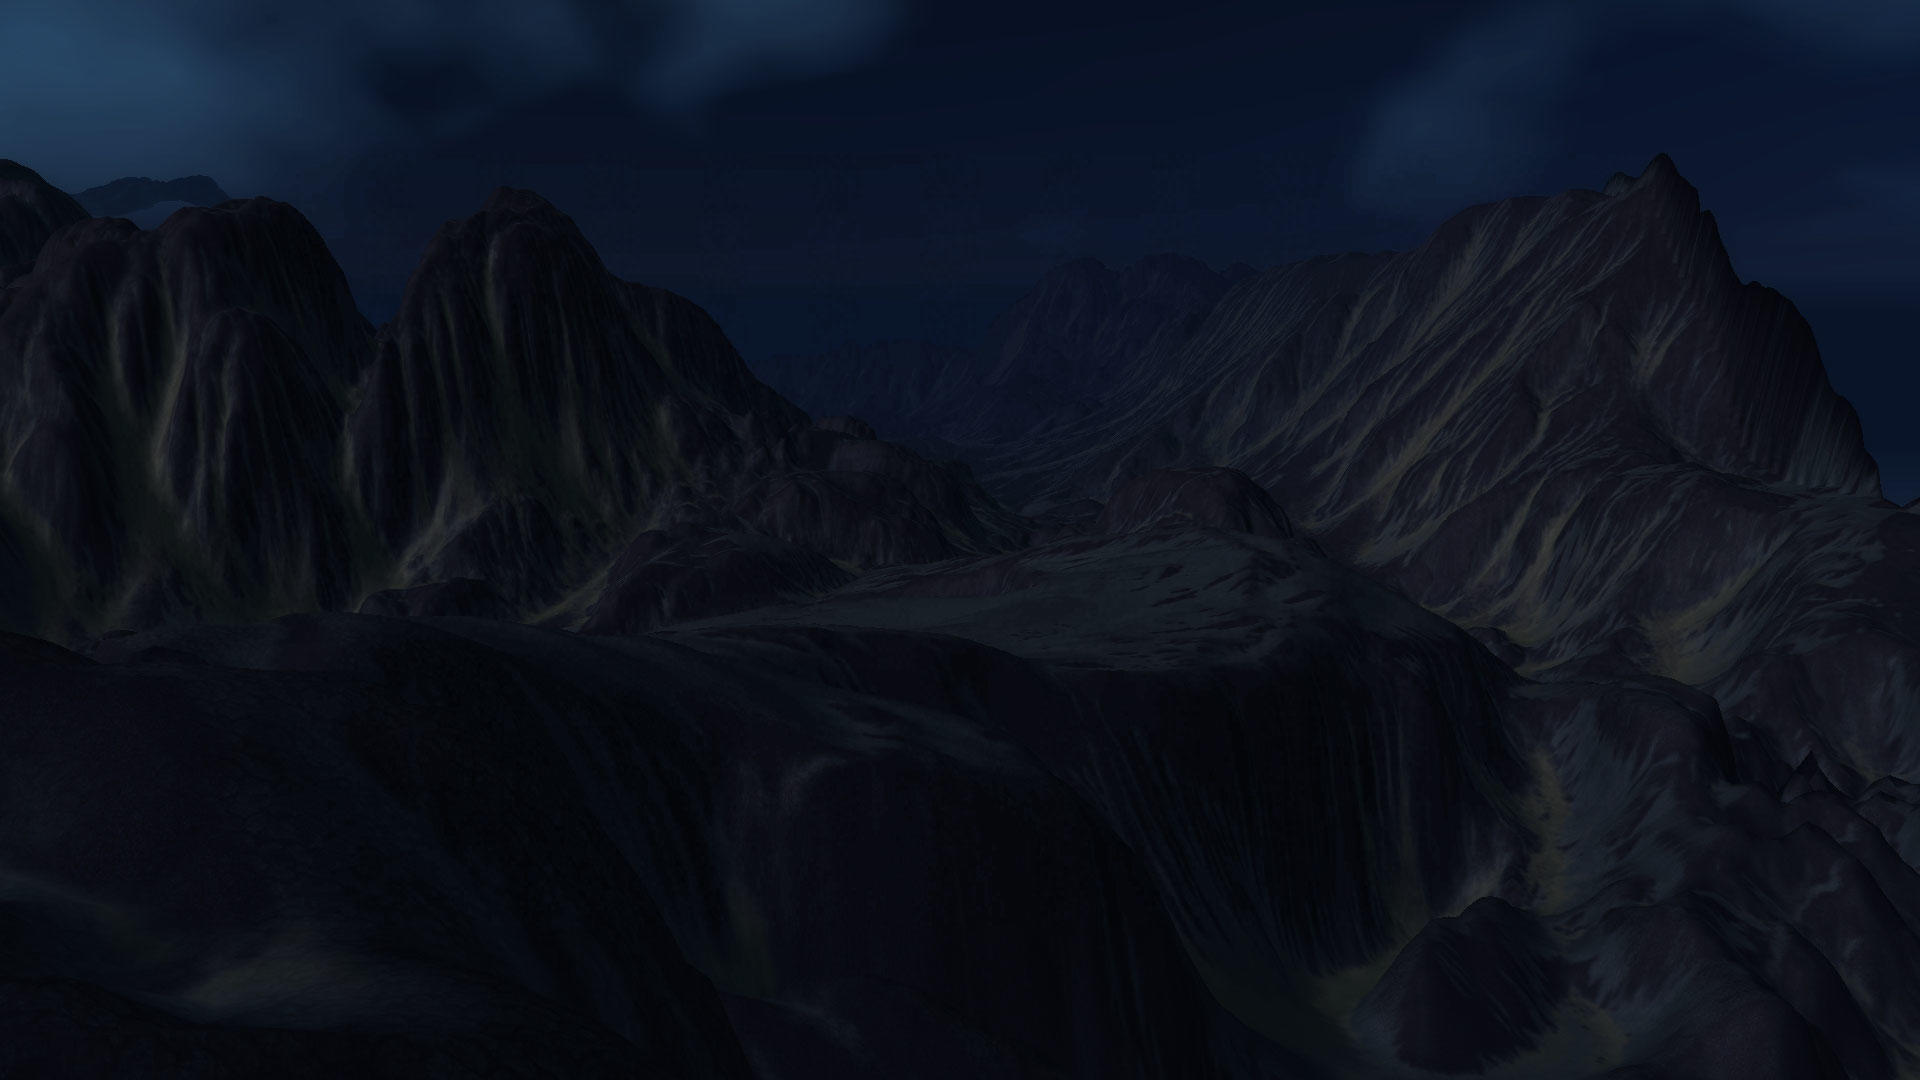

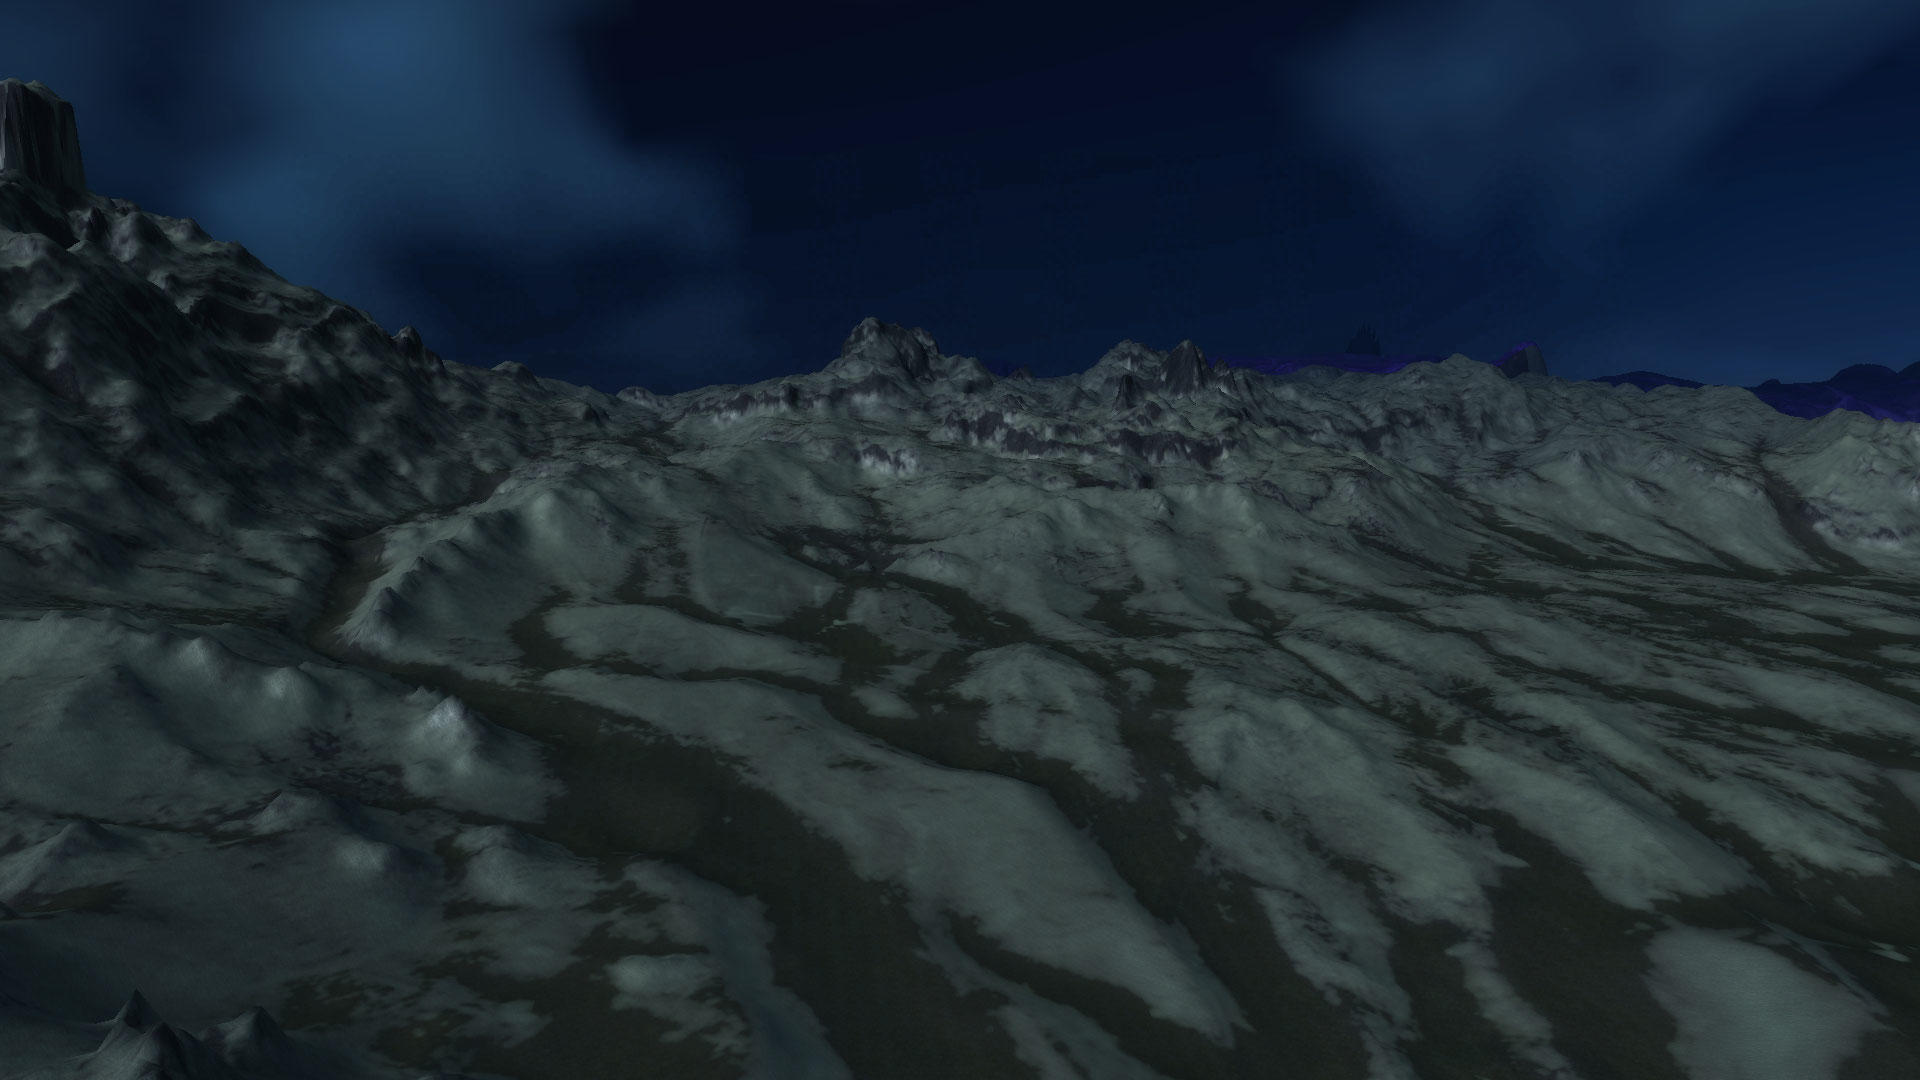

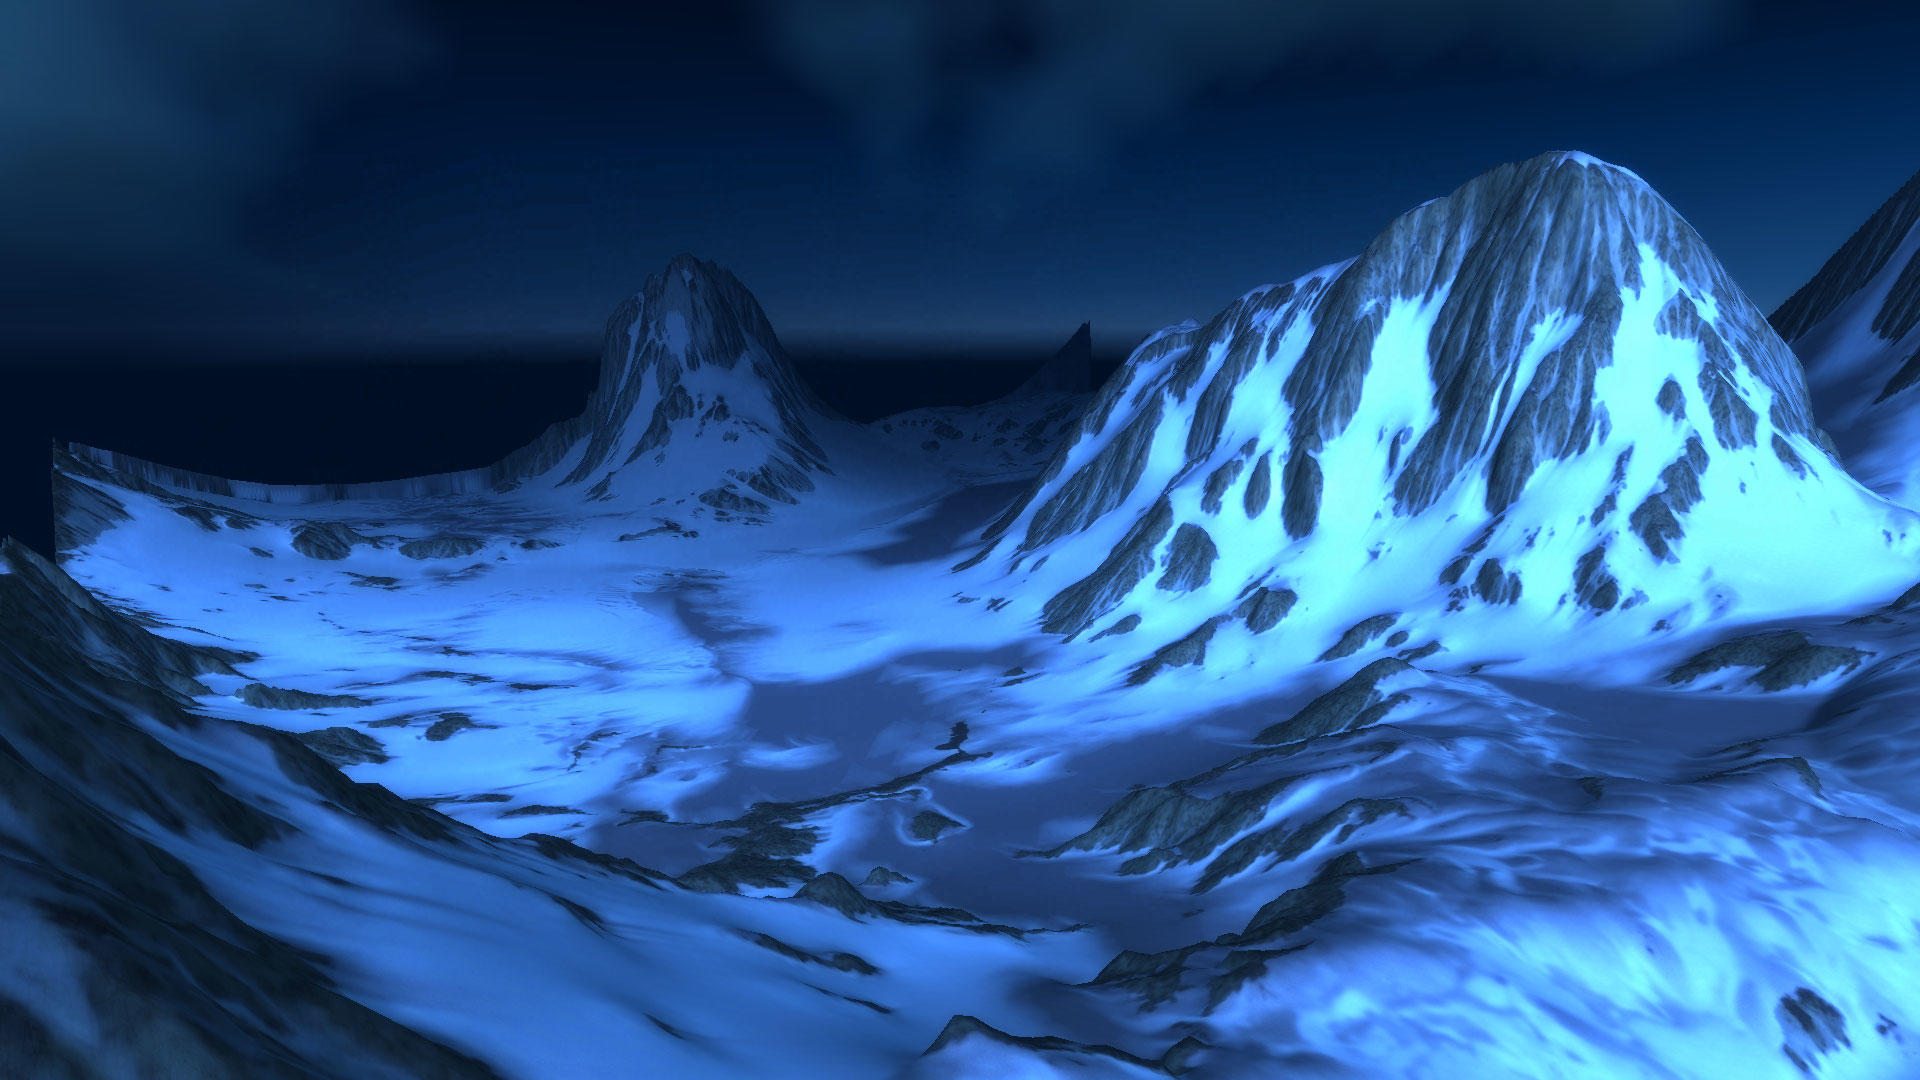
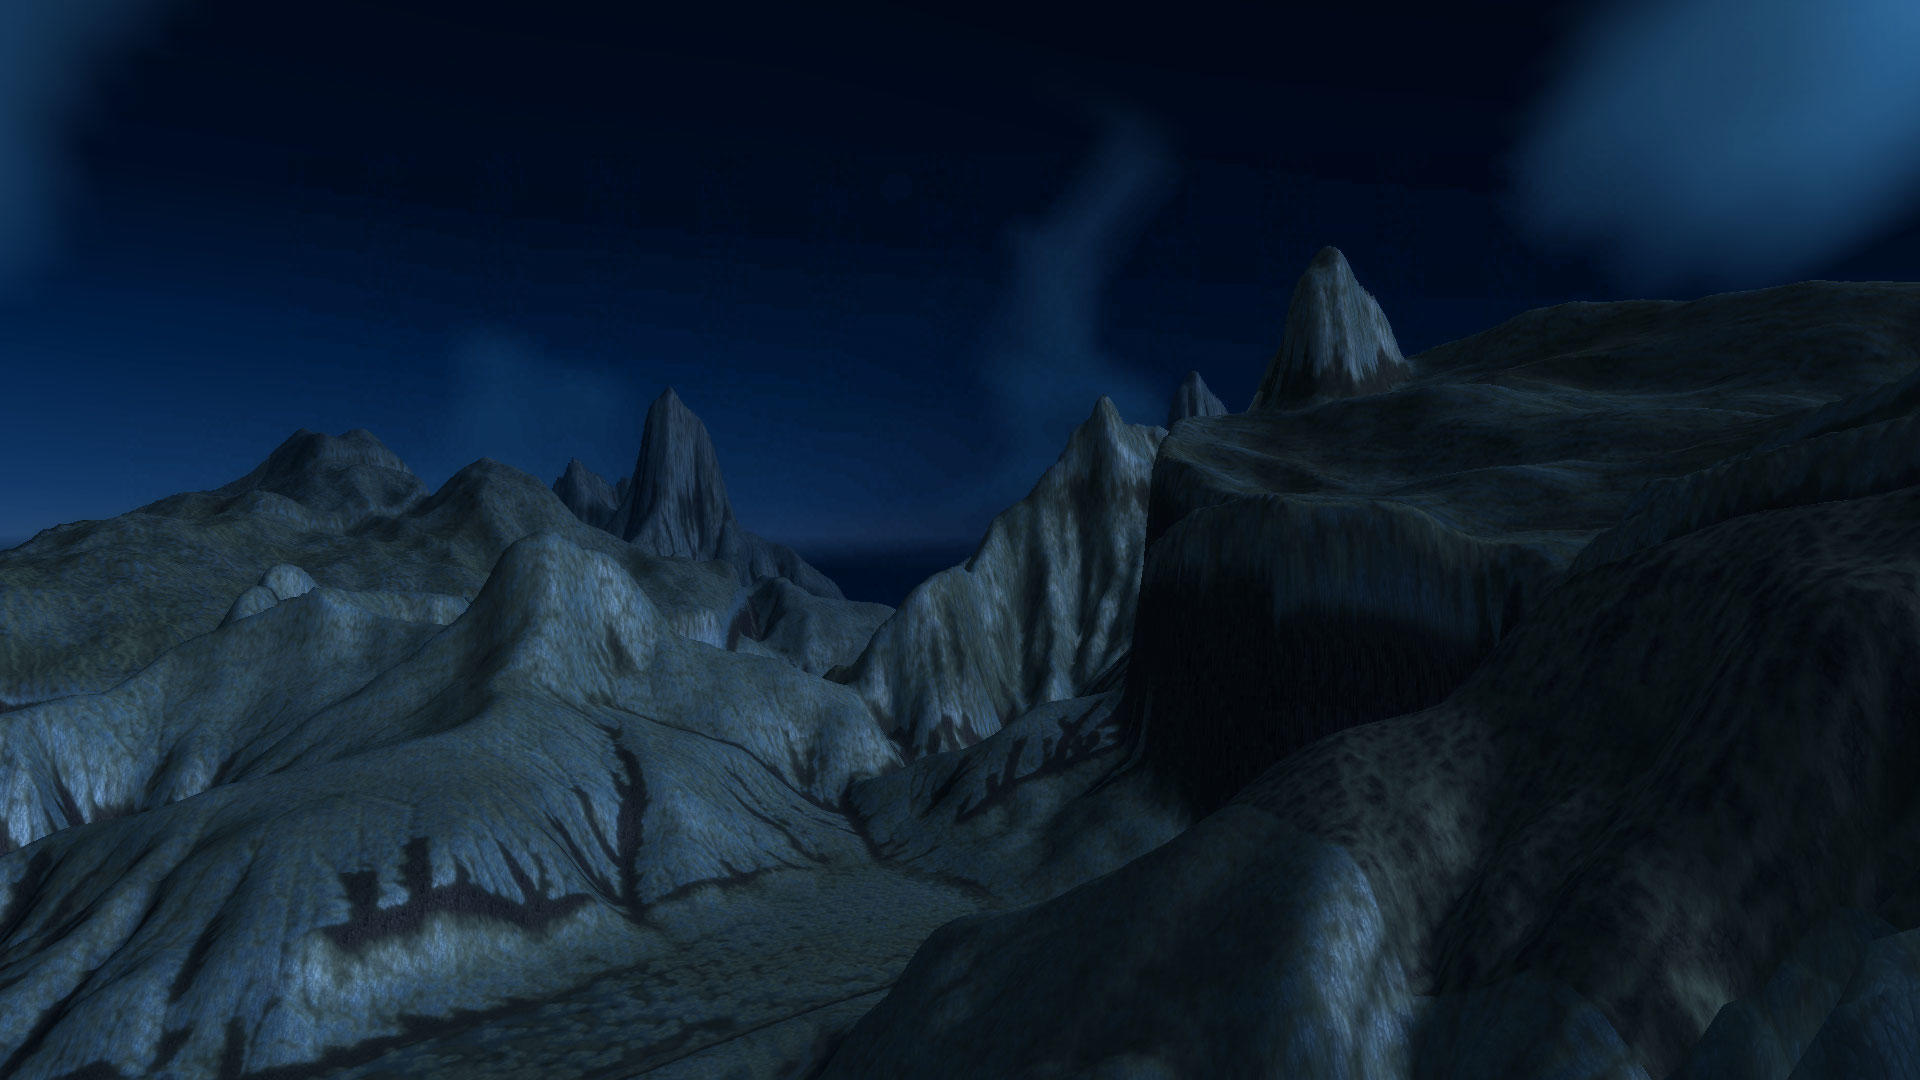
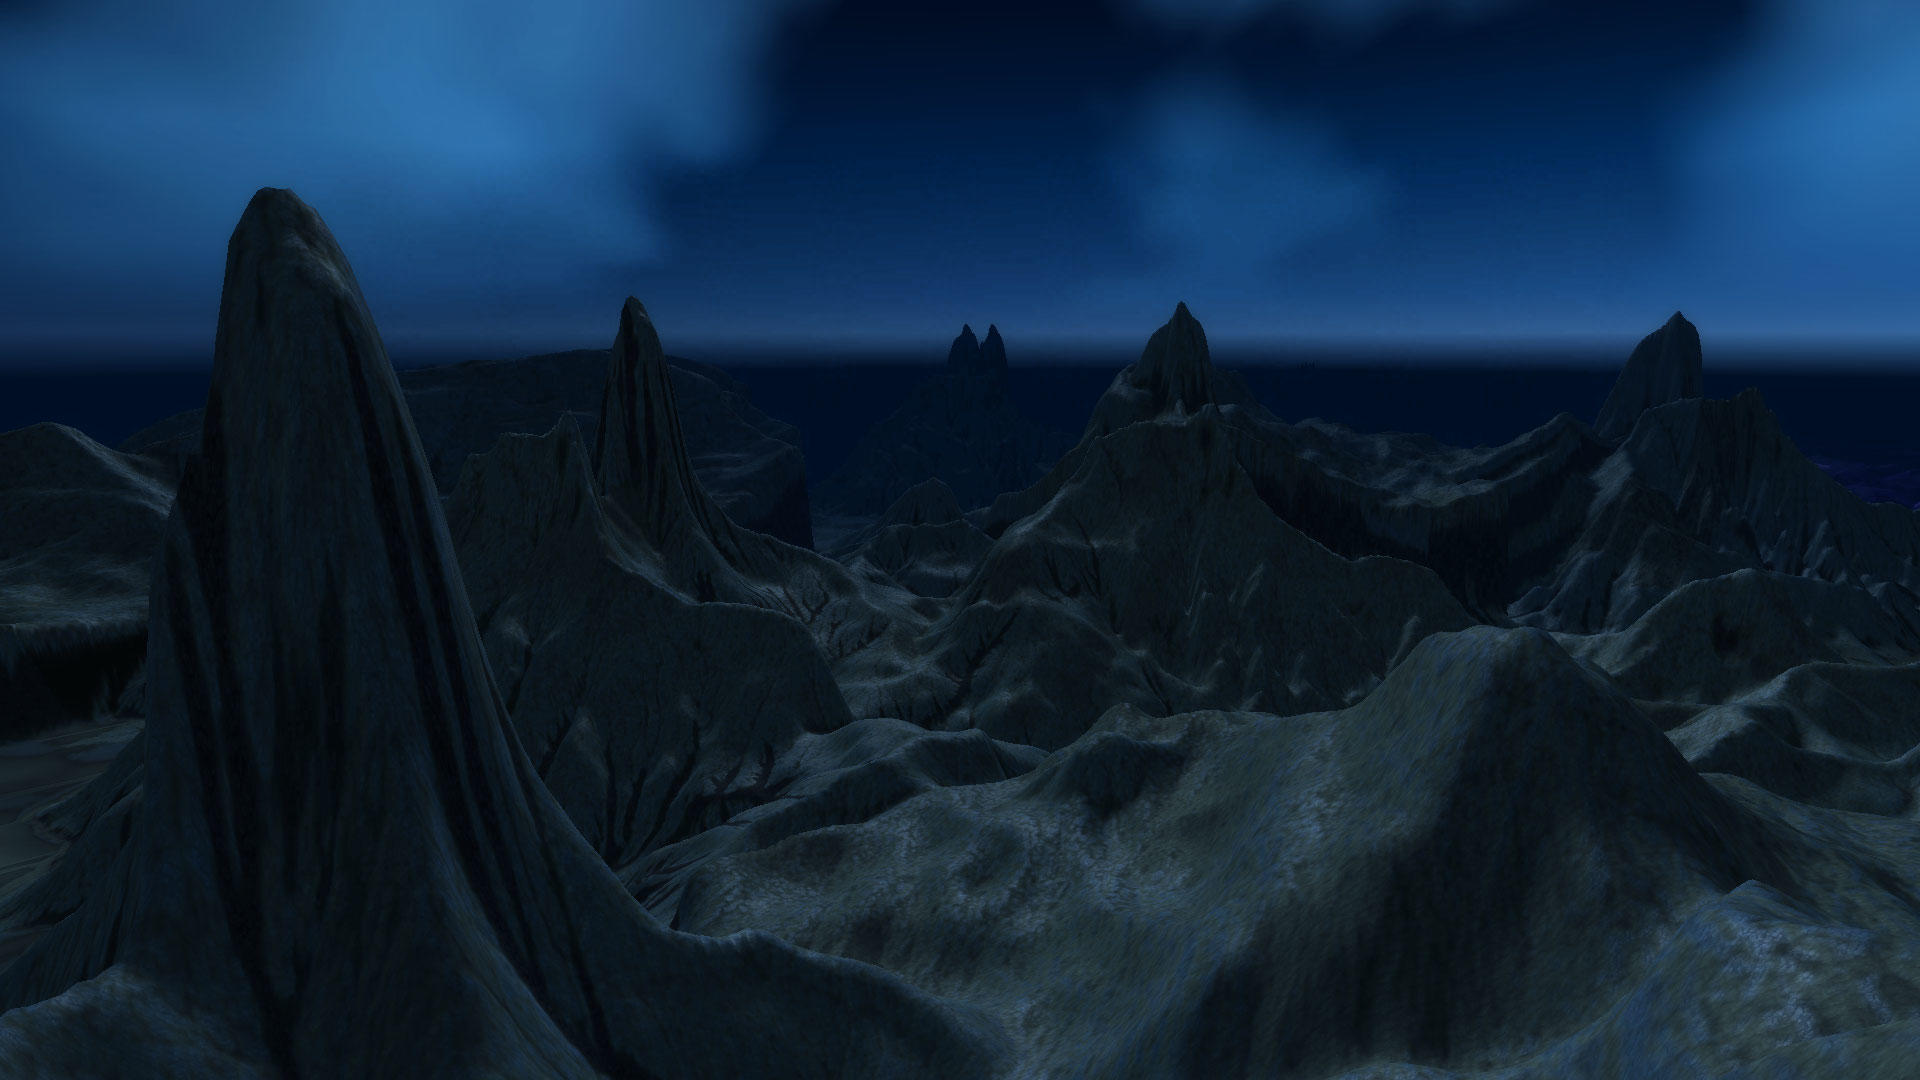
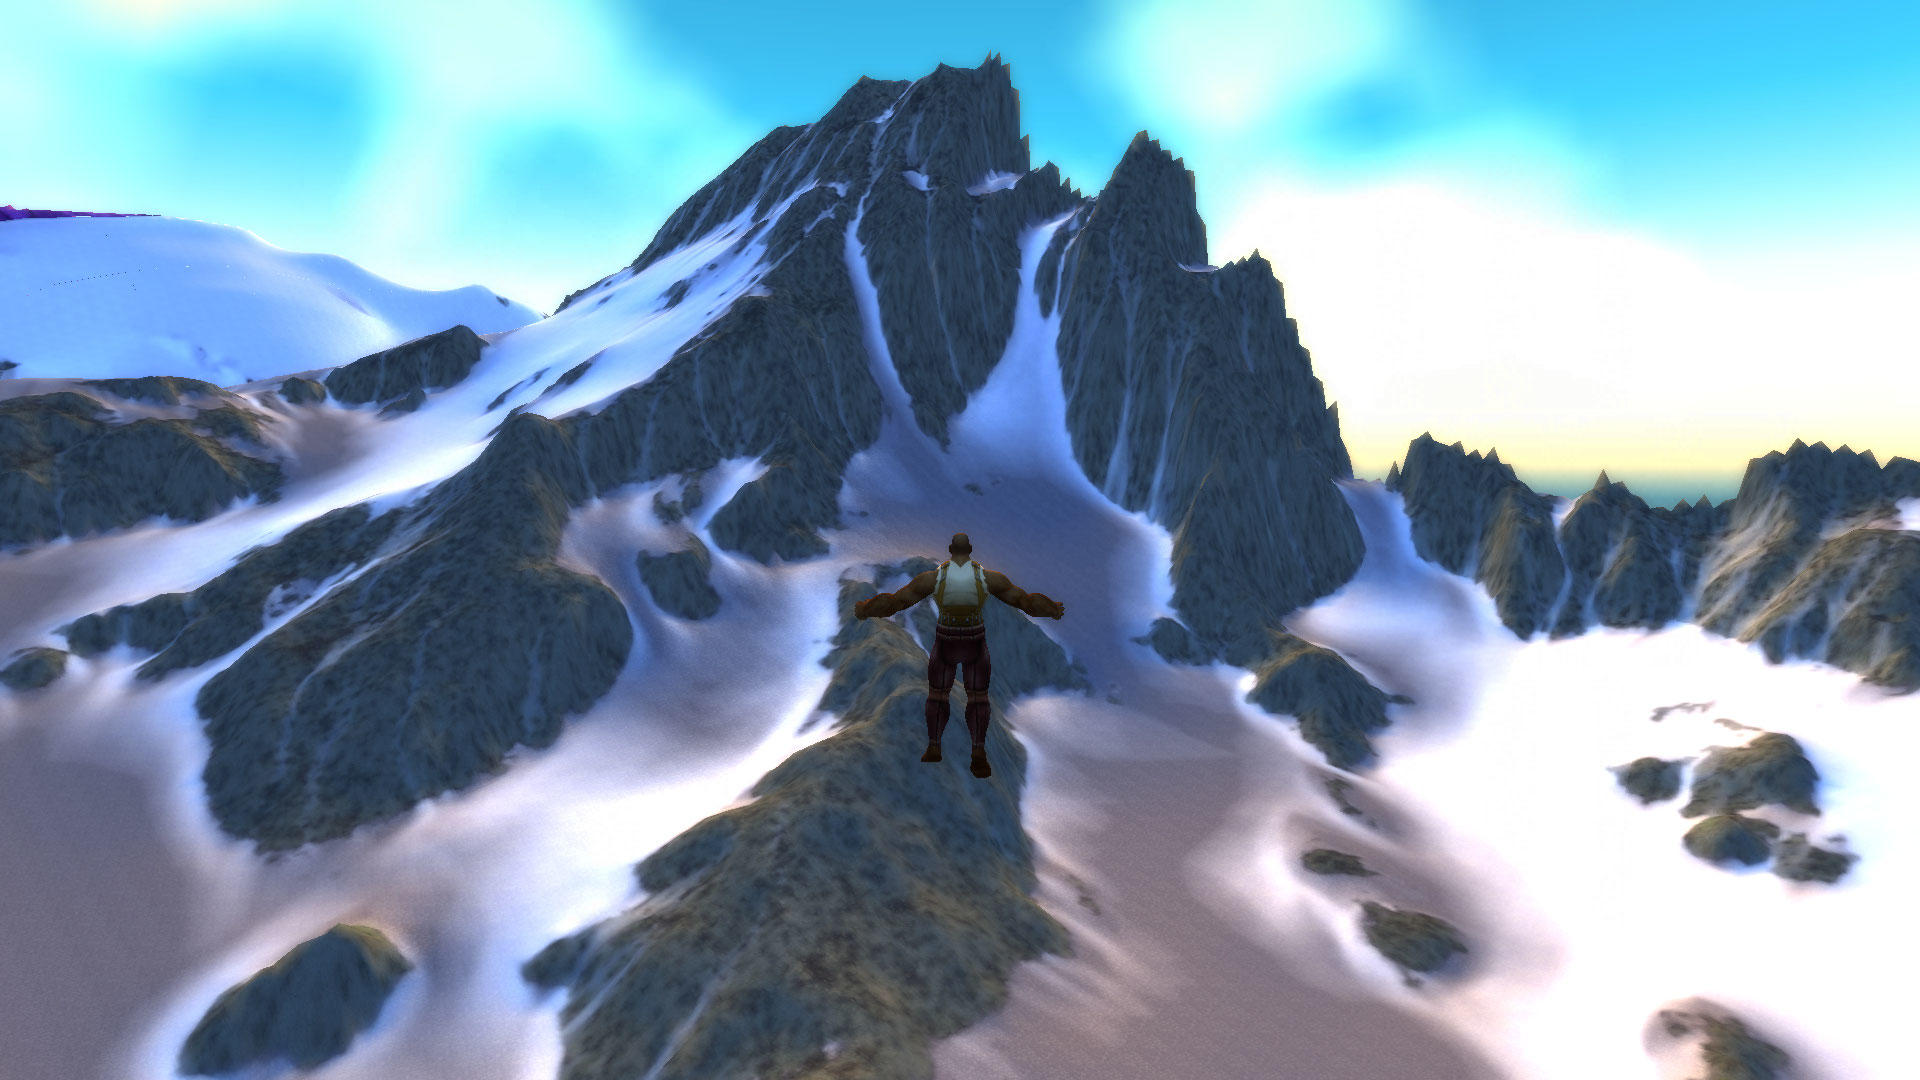
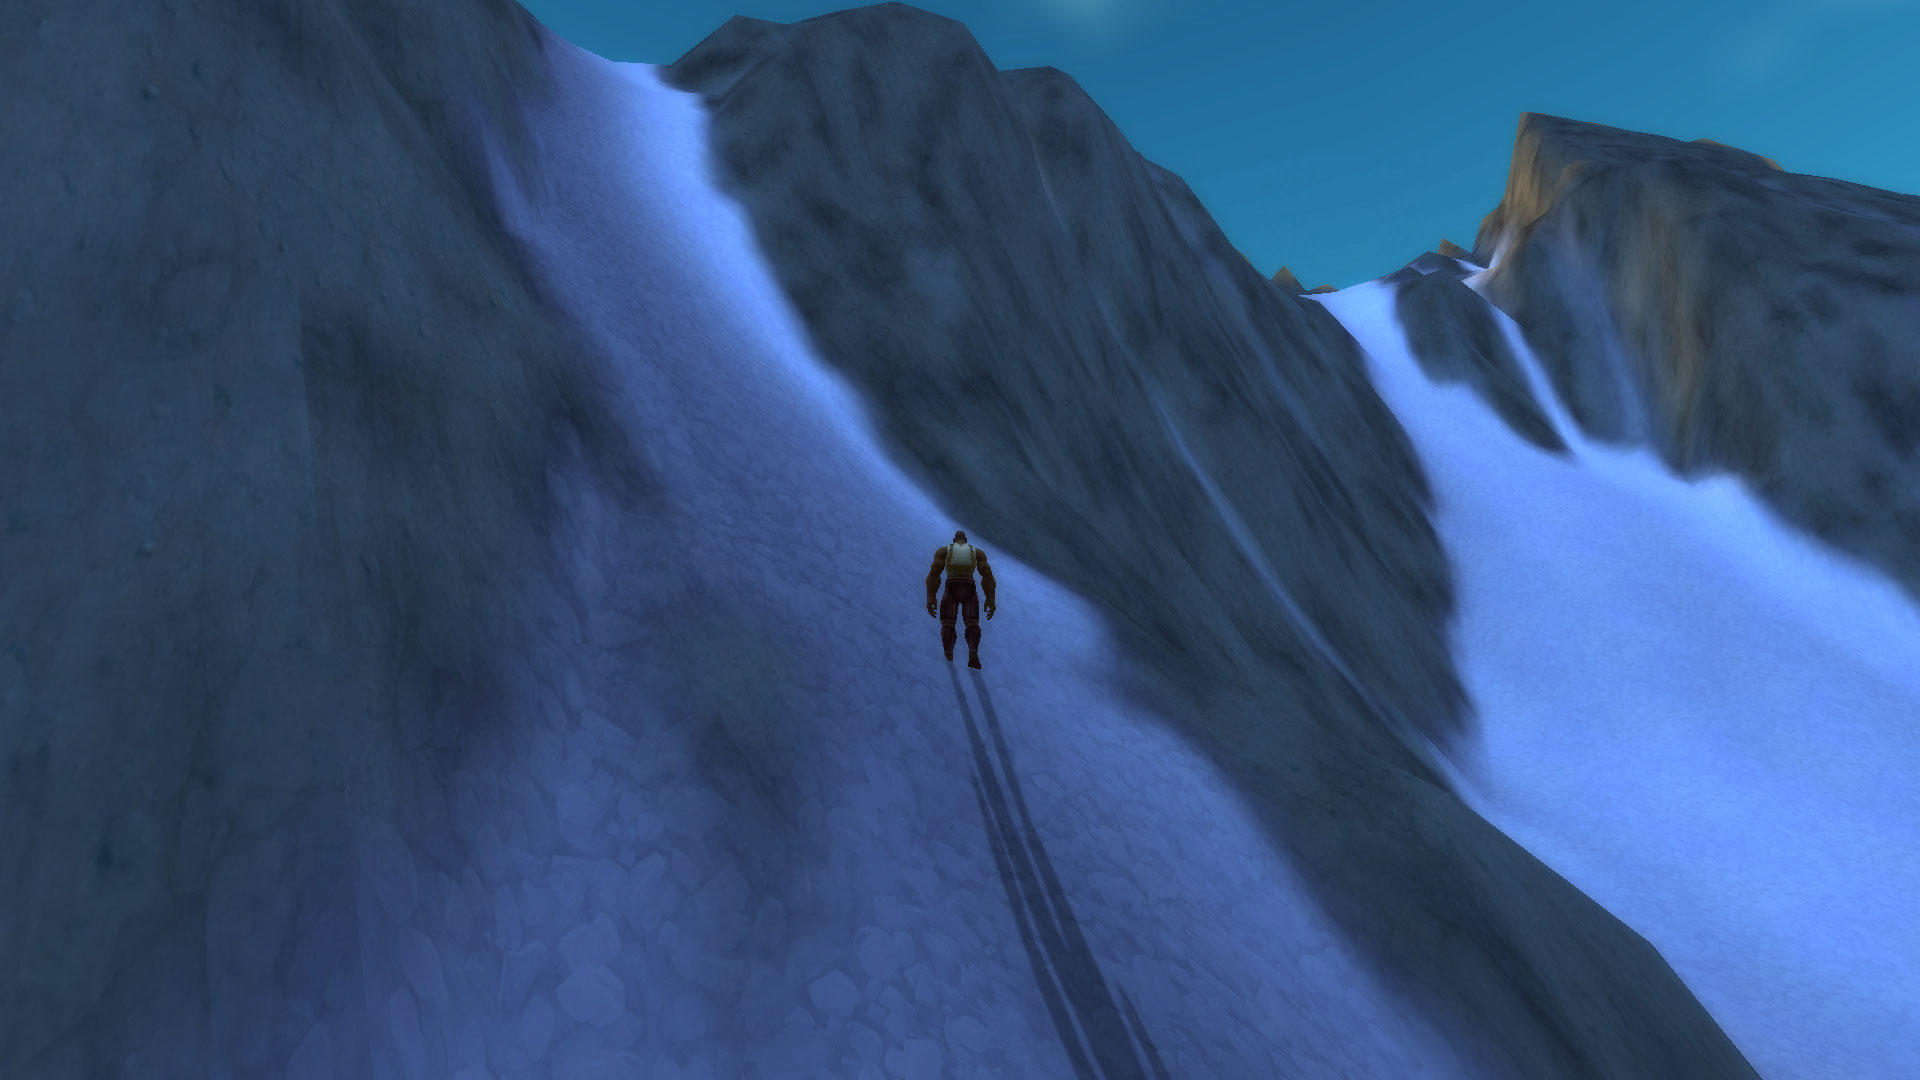
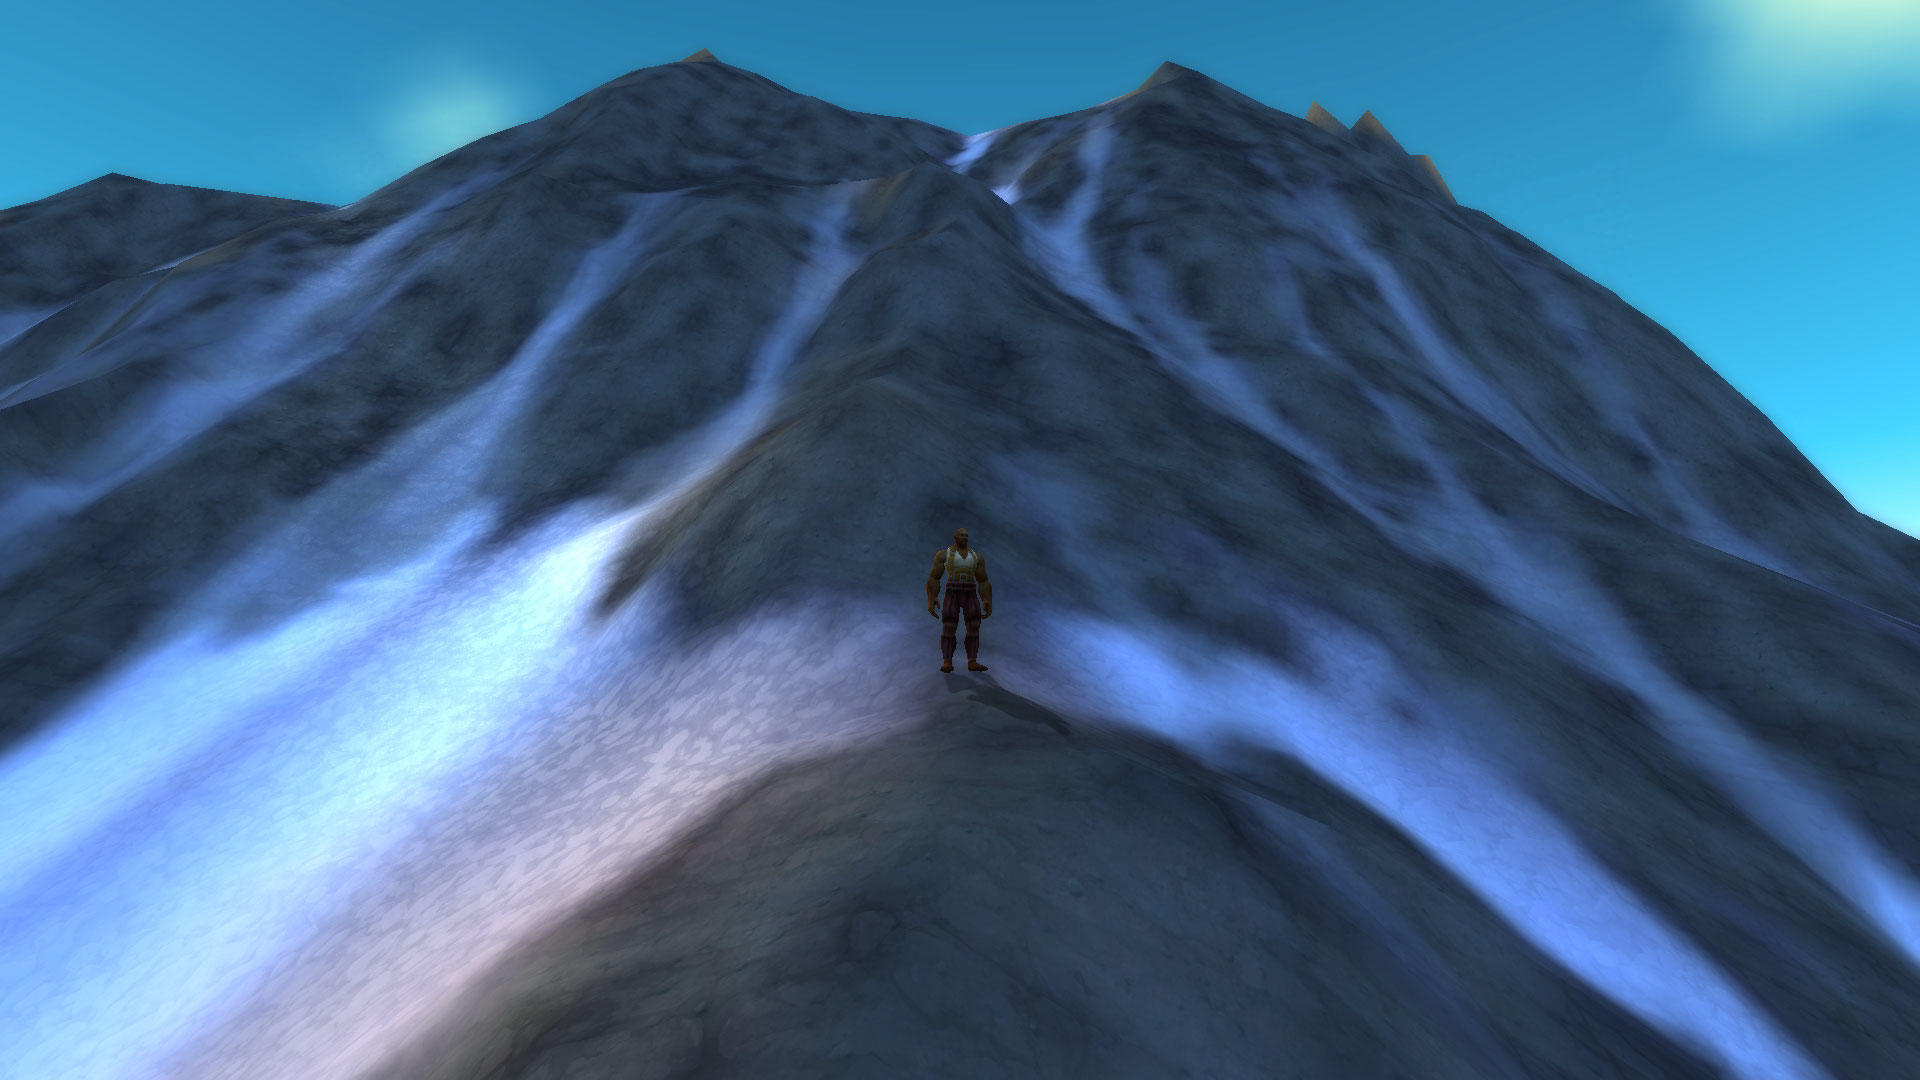
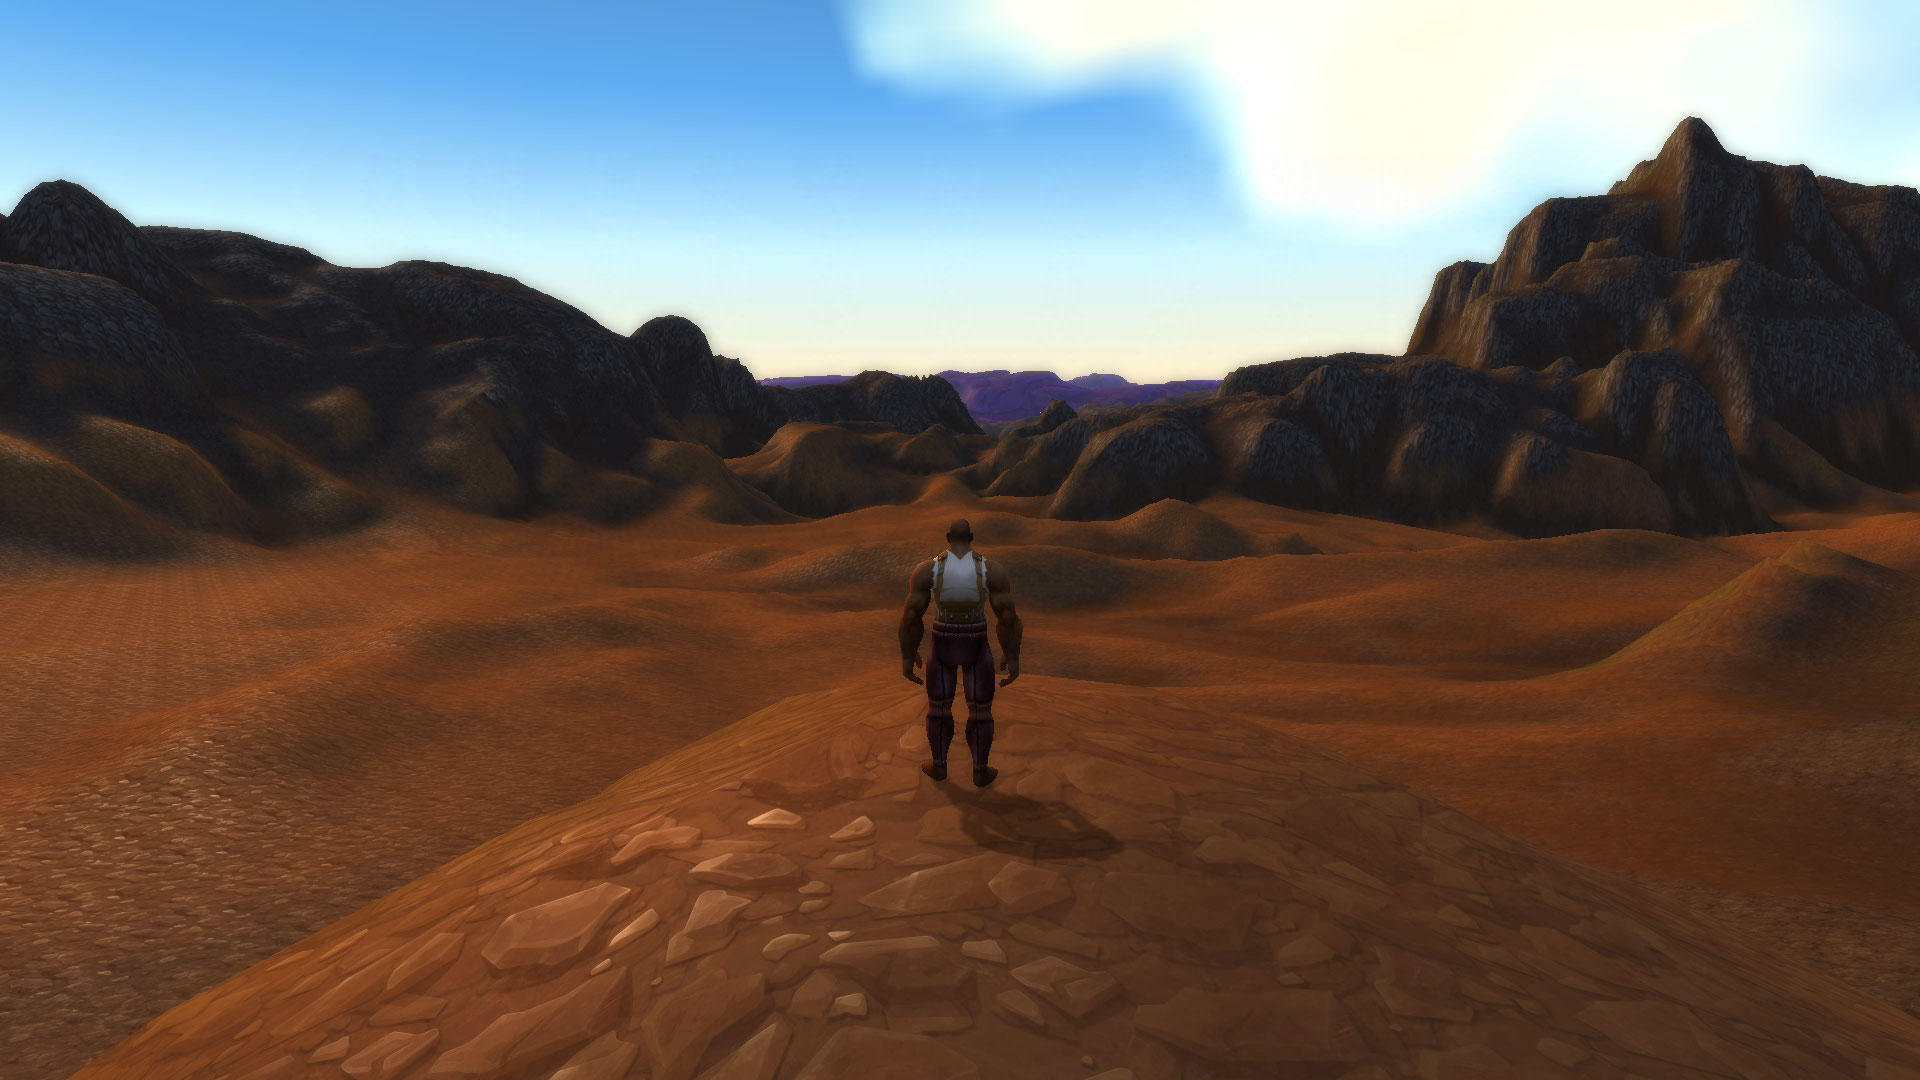
-
 9
9
-
 6
6
Recommended Comments
Create an account or sign in to comment
You need to be a member in order to leave a comment
Create an account
Sign up for a new account in our community. It's easy!
Register a new accountSign in
Already have an account? Sign in here.
Sign In Now