
AgeofHockA
-
Content Count
23 -
Joined
-
Last visited
-
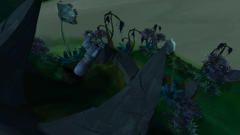
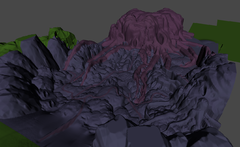
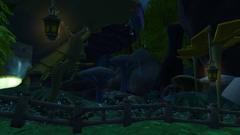
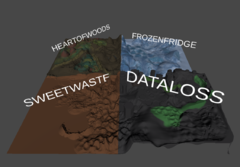
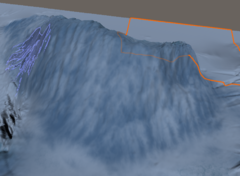
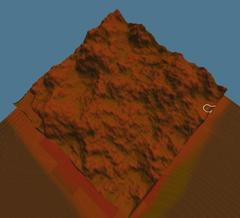
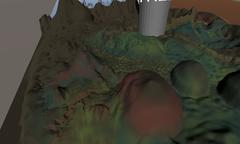
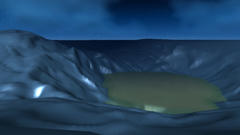
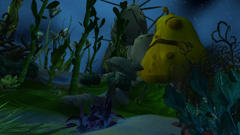
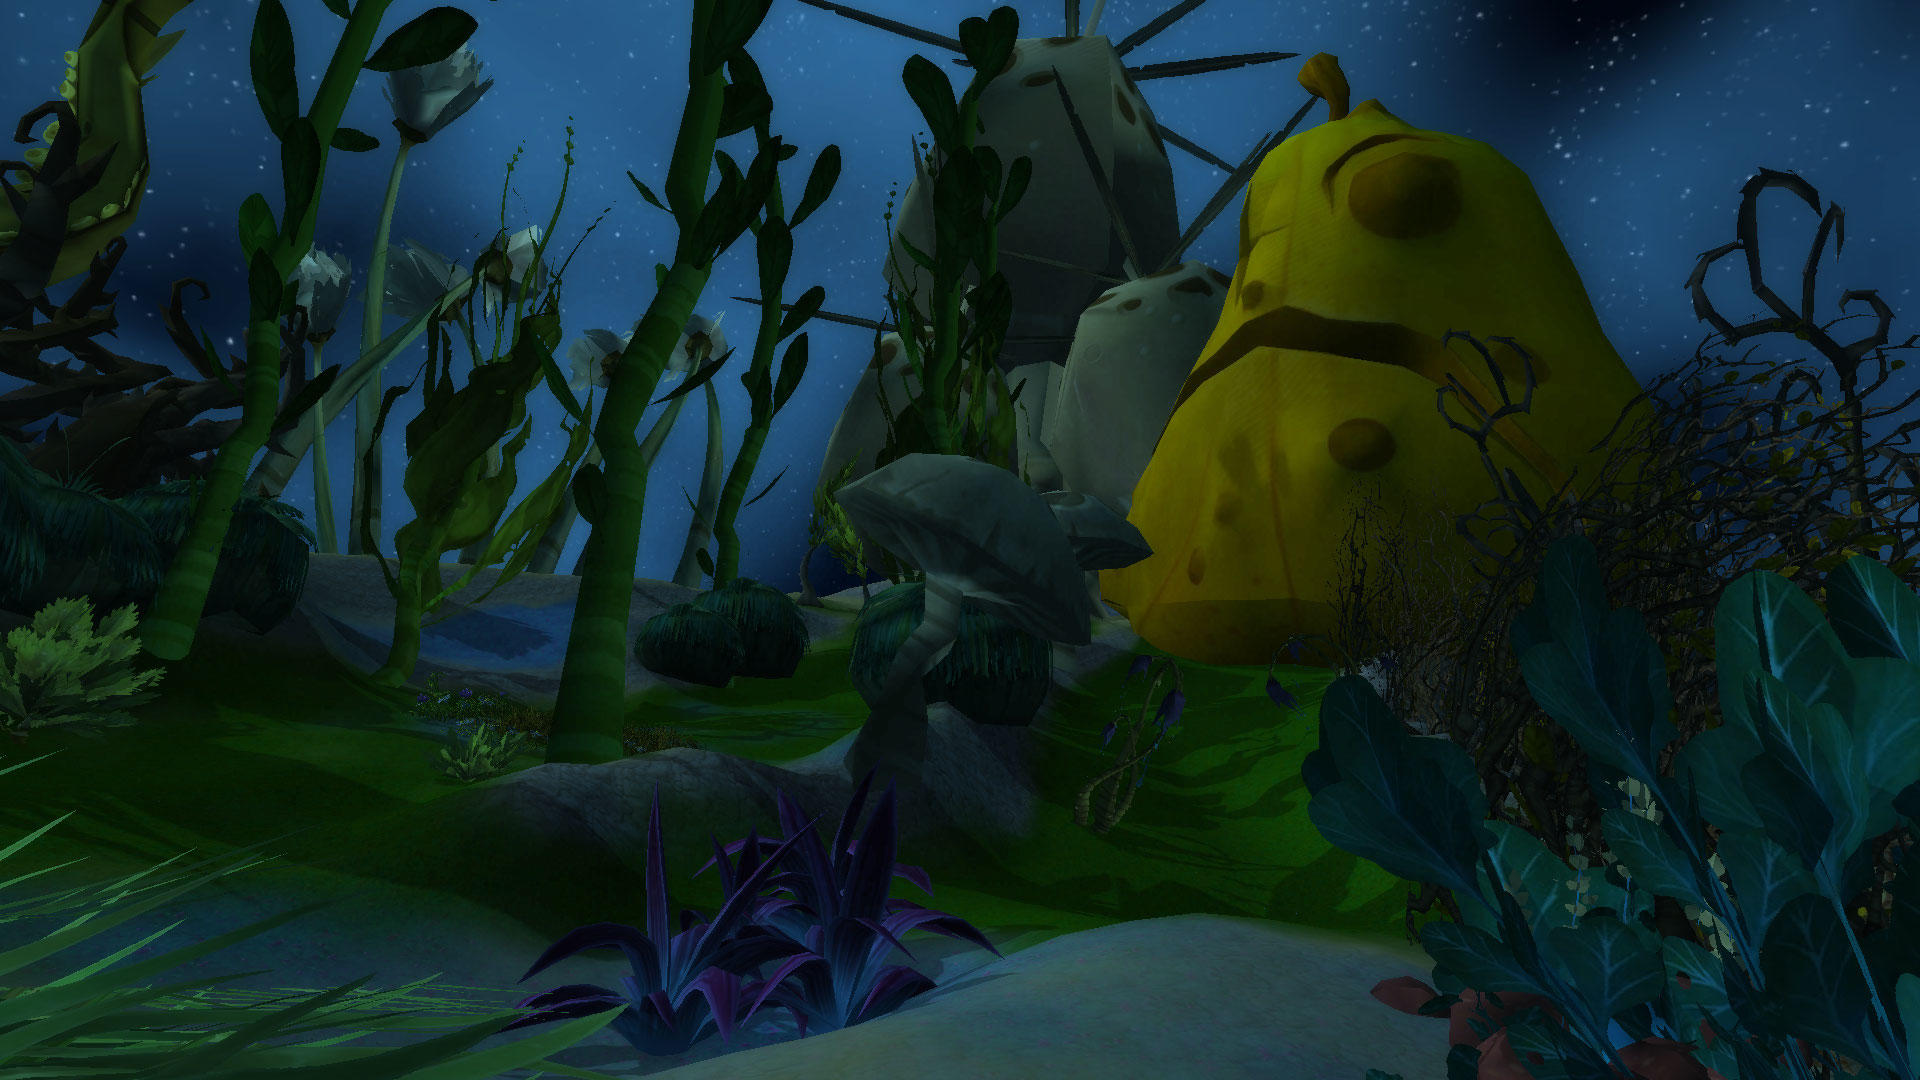
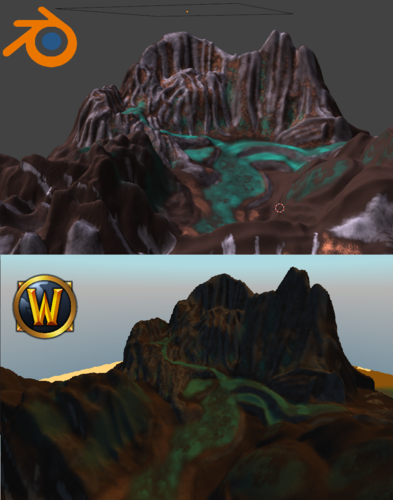
FULL WALKTHROUGH for 1 ADT: Use any Terrain Editor that you want, i recommend: GAEA There are two tools Included, THEY ARE NOT MADE BY ME: (Had some Problems with Upload so i included the GDRIVE: (https://drive.google.com/drive/folders/1-fX4DQobVAS2P0s0BGLThIH6sj0P86v4?usp=sharing) ObjtoADT and (FUTA) ill Inculde these Tools are included inside the Package HOW DOES IT WORK ? It uses the two main keys for great Terrain Generation OBJtoADT to print Model Height Data into an ADT. Futa to Extract all 3 Layers into an ADT. HOW TO USE ? Firstly you need to Generate a Terrain through your Favorite Terrain Generator, i use Gaea: So i split the Terrain into 4 Pieces Heightmap: and the 3 Layers: So i have 4 Outputs: Heightmap, Layer1, Layer2 and Layer3. (1024 Heightmap and 4096 Layer1-3 Textures) 1k and 2k works aswell with the standart edition but loose a bit of quality. As soon you have those Raw Files you need to Convert the Heightmap into an 3d Object with the ADT4x4 file Through The Displacement Modifier: As soon youre done accept the modifier and copy the object into the OBJtoADT File: Select the ADT_Template and Set Target inside the Modifier and Select your Terrain. IMPORTANT: Now you need to lock every object or Hide them and only export the Objects from the Modifier like this The ADT_Template needs to be Hidden and press a to select everything now only the Objects from the Modifier Should be selected and Export the Object after the settings in the Folder: It should be named after your ADT File as an example NAME_1_1.obj -> NAME_1_1.adt you need todo that for every ADT Piece save it inside your OBJtoADT Folder and as soon you have it you need to put your Empty ADT Files inside that folder and run the OBJtoADT.bat which prints the Data inside your ADT. Put your ADTs back and open Noggit and Add 3 Textures with it. Open TerrainTextureGen i recommend adding the Addon ScriptstoButton there are 3 Scripts included you only need to Change the Path and press the Button to generate Layer1-3 Files otherwise they overwrite eachother. You only need to Add your Textures inside the Given Image Nodes we have 3 Materials for Every Layer. Select the Material and click the Button Layer 1 it saves all 16 Textures in the Path you set inside the Scripts. Select the 2nd Material and button Layer 2 the same for the 3rd. The last step is to open Futa and import the Single images for all 16 ADTS. Thats it, some Result Pictures:
- 6 comments
-
- 15
-

-

-
Version ALPHA 0.1
128 downloads
(WIP ALPHA 0.2 Already overhauled the Template but it needs a bit Optimization) This is a Template File, which allows you to Create awesome Terrains for the WoW Version 3.3.5. The (EXAMPLE) in the Zip File uses Shadowlands and BFA Tilesets otherwise they will displayed as Errors but you can easily switch those Textures. It uses the usage of the Programs: ObjtoADT Prints the Height of the Model into an WoW ADT. Futa Prints the Alphamaps into an ADT. A tutorial Video can you find here of the Export Progress: -
Pictures of the Project.
-
-
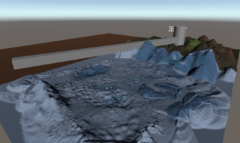
Unity Terrain Editor is awesome using that instead of the Blender ones, but in combination its even better. Just Generate Alphas for your Stamp tools out of all the wow .adts search some Mountains rocks that you like use the Alphagen in the Scene and import it into Unity.
-
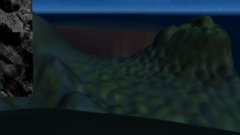
This is a Terrain Generation Scene for Blender, it has a precreated Material Scene to create Alphamaps and the original ADT Size. Using A.N.T. to generate a great Terrain shape and a specific Material to generate Alphamaps, for the m2´s i use a wmo with an doodad set that were randomly placed with the hair particles and place it somewhere under the terrain. Using WoW blender studio 2.8: Mouse Clicks, Background Sound are still in, i just merged 3 records together without any edits.
-

Version 0.0.2
163 downloads
A Blender Scene with an Alphamap Generator and the Original ADT Size. USED ADDONS BLENDER: A.N.T. Official Blender Addon, WoW Blender Studio, UNITY: Terrain Tools Unity works extremely well with the Terrain Generation using the 2019 Version in combination with the Terrain Tools and a Terrain Export Script and the Alpha Generator from Blender you can take any terrain shape from any Expansion and print it into a Unity Terrain aswell Texturing. The Terrain inside the Grid is 1 ADT. To get the Raw data out of the Terrain, on the top you can export the Terrain as .OBJ and with the Terrain Tools under the Menu Asset/Terrain Tool you can export your texture Layers as RGB the PNG is in a weird format, open it with your favourite Image Editor and Seperate the Image by Color, RGB and there are now the 3 Texture Layers-> Desaturate them and theyre ready to use for FUTA. To Convert the Terrain to an ADT use the ObjtoADT: OBJtoADT -
Version 0.1
82 downloads
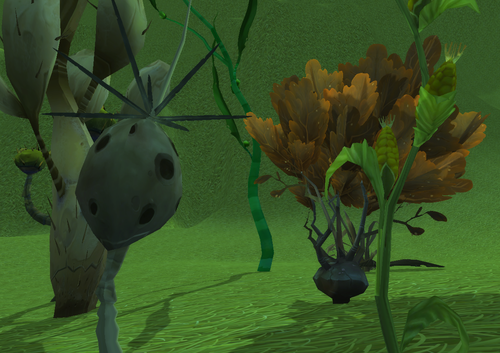
This are all the Plants that Wildstar(MADE BY NCSOFT/CARBINE STUDIOS) offer. This Version is not FINAL, please send me information about some plants that need collision and which dont need out of your sight. write the Number from the plant to me and i will fix them ? Thanks to Alastor, Soldan and Skarn and all other people for helping me out on some problems that i crossed? Follow my progress on : Wildstar-port progress Discord: AgeofHocKA#2112 -
The Prop is a folder that contains all the M3 Props that would be M2 for the WoW Files (Trees, stones, plants). Seperate them by Multi-Text and Single-Text to actually do the methods for each of them. Plants and bushes should contain no Collision and Twosided planes, Trees or other with more than one textures will be ported later to actually make one Submesh "leaves" without collision and the "Stump" with collision to avoid stucking in the trees while flying. Starting with the Prop/Nature Folder, it contains all environment props: DONE: Bushes Plants WIP: Stones Bones Flowers Egg
-

Version 0.1
106 downloads
This are all the Bushes that Wildstar(MADE BY NCSOFT/CARBINE STUDIOS) offer. if you need specific collision for a Bush, write @Dscord. Write me if you find any Texture Bugs, Model bugs: Thanks to Alastor, Soldan and Skarn and all other people for helping me out on some problems that i crossed? Follow my progress on : Wildstar-port progress Discord: AgeofHocKA#2112 -
Version 0.1
132 downloads
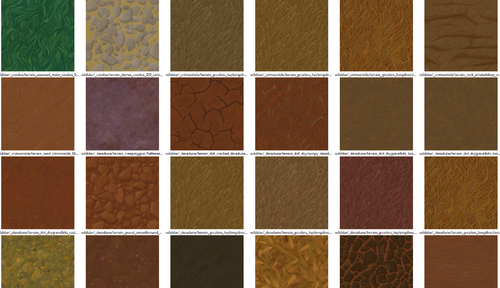
This are all the Tilesets that Wildstar(MADE BY NCSOFT/CARBINE STUDIOS) offer. CLUTTERS WIP coming in the next versions. Write me if you find any Texture Bugs: Follow my progress on : Wildstar-port progress Discord: AgeofHocKA#2112 -
What you need: Blender ObjtoM2 010 Editor You need to Replace the given m2 Humanmale, this will add the 15 Attachpoints. https://drive.google.com/drive/u/0/folders/1_wEc4HGmqYqLcbD1Xe586ZJB6B9JagOF Since Attachments are always calculated in addition to the 0xyz Point, if you open a standart wow helmet the Helmet is near the 0 point and if the Bone value Z axis is 1 the Helmet is automaticly placed up on the Head if you would add the helmet on the Head of the Source Model, the Helmet will appear at 2z axis and is double calculated which brings you to the weird Placements Outside of the Model. I tried to set a Attach position to 0xyz and it worked the Edited meshes will always appear on the right spot. To avoid weird original Placements you just need to Add Attach Points trough 010 Editor as an example ive added 15 new Attach Points that are connected to specific bones and start at 0xyz: 55.Head 56.Chest 57.UpperArmRight 58.UpperArmLeft 59.LowerArmRight 60.LowerArmLeft 61.RightHand 62.LeftHand 63.Pelvis 64.UpperLegRight 65.UpperLegLeft 66.LowerLegRight 67.LowerLegLeft 68.FootRight 69.FootLeft The ID of the Attachpoints are: 41-55 in same order Head is 41 and Footleft is 55 The downsides every Race need those 15 extra Attachments, but you can avoid some extra armor creation since they are the same bones for every Race, like nightelf could use Human_M Armor. Ill try to calculate some Positions to actually only edit Humanmale and fit it on Gnome, Dwarf and Nightelf and other Races. TUTORIAL VIDEO: Wildstar Set to WoW: