
Смердокрыл
-
Content Count
740 -
Joined
-
Last visited
Everything posted by Смердокрыл
-

Version 7.3.5.26972
603 downloads
Here I will be uploading the various versions of .build.info files, which are needed for the WoW client to download itself, and also for CASCHost. -
-

Version 4.5
1,702 downloads
Hey! I needed M2mod Redux version 4.5 for the modeling tutorial, but it couldn't be found anywhere in the internet. Thankfully, I found the archive on my computer (since I never clean my downloads folder and it's like 65 GB now) and decided to upload for anyone who might need it. All the credits go to Fr33m4n -
Introduction Originating from Heroes of the Storm (CASC '1.0'), the Content Addressable Storage Container is a new file system for WoW, introduced in Warlords of Draenor as a replacement for MPQ archives (CASC '2.0'). As such, it needs to be worked with in order to use custom game files in WoD, Legion, and BfA. CASCHost is a tool for just that. Tools and resources CASCHost itself Patched WoW.exe If you are running your server and client on the same machine, you can download a suitable WoW.exe here. Alternatively, keep reading for an instruction on how to patch the exe yourself. This will require 010 Editor and the TrinityCore Connection Patcher. As of TC Master 8.0.1, the TC patcher is no longer operational. Chances are, you will be using the Arctium Launcher instead. If you follow my instructions on patching WoW.exe, the Launcher will not work, as it also overwrites the versions url. Read on for an instruction on how to patch the Launcher instead! (the exe should be left unedited). .build.info This file might be in your WoW folder - if it is, use that file for CASCHost as will be described below, and temporarily remove it from your client. While this file is in the same folder as WoW.exe, the latter will ignore your custom CASC and only download files from Blizzard servers. Alternatively, you can always get one here. Make sure to choose the correct version. The Technique Installation Download CASCHost from the link above (either the pre-built version, or clone it from GitHub and build yourself). If you build the program yourself, you will need to manually create some of the folders I talk about below. Place your .build.info in CASCHost folder/wwwroot/SystemFiles/. Place your custom files in CASCHost folder/wwwroot/Data/ with the correct structure (e.g. wwwroot/Data/Character/Human/...). Open the file CASCHost folder/appsettings.json to edit: RebuildPassword - use this field if you would like CASCHost to require a password when issuing rebuild commands from a browser. HostDomain - your server domain in the form domain:port. IP addresses are not supported, apparently. Leave as "localhost:5100" to use the pre-patched WoW.exe. SqlConnection - the IP address of your SQL server, the username and password (typically, trinity/trinity), and the name for the database CASCHost should use. Sometimes you might need to create the database yourself instead of letting CASCHost do it. Locale - the localisation of your server and client(s), e.g. enUS, deDE, enGB, ruRU, etc. (Optional) To publicly host your custom files for other players to download, open the file CASCHost folder/hosting.json, and add your domain:port to the urls list. Patching WoW.exe Patching Arctium WoW Launcher.exe You can now run Start.bat from your CASCHost folder and, once that loads, start WoW.exe/Arctium Launcher. The client should begin downloading the files you placed in CASCHost folder/wwwroot/Data/ (don't worry, it will download whatever it needs from Blizzard servers as well, but your files have priority). Managing CASCHost While CASCHost is running, you may add/edit/remove files in the Data folder. In order for the changes to take effect, you must open your browser and go to http://yourdomain:port/rebuild In the default case, it will be http://localhost:5100/rebuild If you have set up a rebuild password in CASCHost settings, you will need to go to http://yourdomain:port/rebuild_yourpassword To stop CASCHost, press Ctrl+C in the window, and choose Y. Troubleshooting For all of your CASCHost troubles (a file not appearing/updating/being removed, etc.), there is a simple algorithm: try the first step, move to 2 if it doesn't help. It might sometimes be helpful to clear the client cache between steps. Rebuild. Stop CASCHost and run it again. Stop CASCHost, delete the Output folder (in wwwroot/), and run it again. This might take some time if there are a lot of files. Stop CASCHost, delete the Output folder, open the CASCHost database with your SQL editor of choice and delete the root_entries table (Warning: this will lead to all of your custom FileDataIDs being jumbled up!), run it again. Complain on Discord. Create an issue on GitHub. Conclusion I am hoping this guide will answer most questions and resolve most problems people have when introducing themselves to CASCHost. As a semi-experienced user myself, I might have made some mistakes while writing it, and so will welcome any constructive criticism. Regardless, I would like to credit and thank the developers of CASCHost: @barncastle, Maku, @luzifix, and tspearman for, well, developing it, and writing an informative readme.
-
Hey! The task is simple: remove all class icons from the character creation screen (technically, it will be one default class that everyone will have). But the problem is that Cataclysm client xml files look nothing like the WotLK's, at least judging by the tutorials on editing those. Could anyone help?
-
yes
-
You can also edit the core to just disable exhaustion everywhere forever - if that's acceptable to you
-
Introduction Unfortunately, there are no tools yet that would allow you to edit an M2 directly (although @Skarn is working hard on that), so it has to be converted into an editable format and then converted back. That can be done with M2mod, and after you've read this tutorial, you will be able to perform this incredibly complicated algorithm on an expert level. This method is confirmed to be working in Cataclysm and Mists of Pandaria, and, possibly, in Warlords of Draenor. It has also been reported to not work in Legion, so I will soon edit this tutorial accordingly. Tools and resources Blender 2.77 M2mod Redux 4.6.1 M2mod Redux 4.5 (yes, you need BOTH versions of M2mod Redux) (they will be referred to as simply M2mod 4.6 and M2mod 4.5) Ladik's MPQ Editor Brains (I use version 0.0.2 alpha, but they aren't necessary anyway) The Technique Installation Download everything listed in the "Tools and resources" section. Install Blender. Extract the archives of M2mod 4.6 and M2mod 4.5 (in different folders, obviously). In the extracted M2mod 4.6, there will be another archive inside called "M2Mod scripts 1.2 Blender 2.73.zip". Move/copy it's contents into your Blender folder\2.77\scripts\addons\ (the default installation path is C:\Program Files\Blender Foundation\Blender\2.77\scripts\addons). Proceed to Model Extraction. Model Extraction Choose the model you want to edit. You can use WoW Model Viewer for that, but I can't make the tutorial that detailed. Let's say I want to edit Varian Wrynn's model to make his chin even more brutal. Open Ladik's MPQ Editor, select all the MPQs in your WoW\Data folder, tick "Merged mode" and press "Ok". Wait for the files to load. Find the location of the chosen model (in my case it is Creature\KingVarianWrynn). Extract the model and the .skin files related to it: select the files > press RMB > choose Extract > enter the desired directory > press "Ok" > wait for the files to extract. Proceed to M2->M2i Conversion. M2->M2i Conversion Open the folder with M2mod 4.6 and launch M2ModRedux.exe. Choose the "Export" tab. In the InputM2 field browse the path to your extracted model and choose the .m2 file (in my case it's KingVarianWrynn.m2). Press "Go!". Wait for the Status to say "Export done". Proceed to Modeling. Modeling Open your Blender folder and run blender.exe. Go to File > User Preferences > Add-ons tab > find "Import-Export: Import: WoW M2 Intermediate (.m2i)" and "Import-Export: Export: WoW M2 Intermediate (.m2i)" > tick both of them > press "Save User Settings" > close the Blender User Preferences window. Go to File > Import > M2 Intermediate (.m2i) > find the converted model from M2->M2i Conversion, step 2 and press "Input M2i". Edit the model however you wish. Through hard work and skill, I made Varian look even more brutal than before. Go to File > Export > M2 Intermediate (.m2i) > choose the path you want > press "Export M2I". Proceed to M2i->M2 Conversion. M2i->M2 Conversion Open the folder with M2mod 4.5 and launch M2ModRedux.exe. In the InputM2 field browse the path to the original model (in my case it's KingVarianWrynn.m2). In the InputM2I field browse the path to your edited model (in my case it's KingVarianWrynn.m2i). In the OutputM2 files choose the path and name of the new model (I'll just replace the original KingVarianWrynn.m2). Press "Go!". There is no Status, so just wait. Proceed to Patching. Patching I assume you know how to compile a patch using Ladik's MPQ Editor. Enjoy your edited model! Edit 17/05/18: As per popular demand, I will add a section with Legion modeling instructions within the two upcoming weeks.
-
Blocked by whom? Aren't you connecting to custom servers? Are you sure you aren't talking about the custom files launcher?
-
I don't see how this is related to CASCHost, but anyway I'm not having any problems with the arctium launcher on 9.0.5. If you are, maybe you should ask arctium devs in their discord server
-
Plain image version:
-
- 3
-

-

-
- shadowlands
- npc
- (and 3 more)
-
Version f555f83
953 downloads
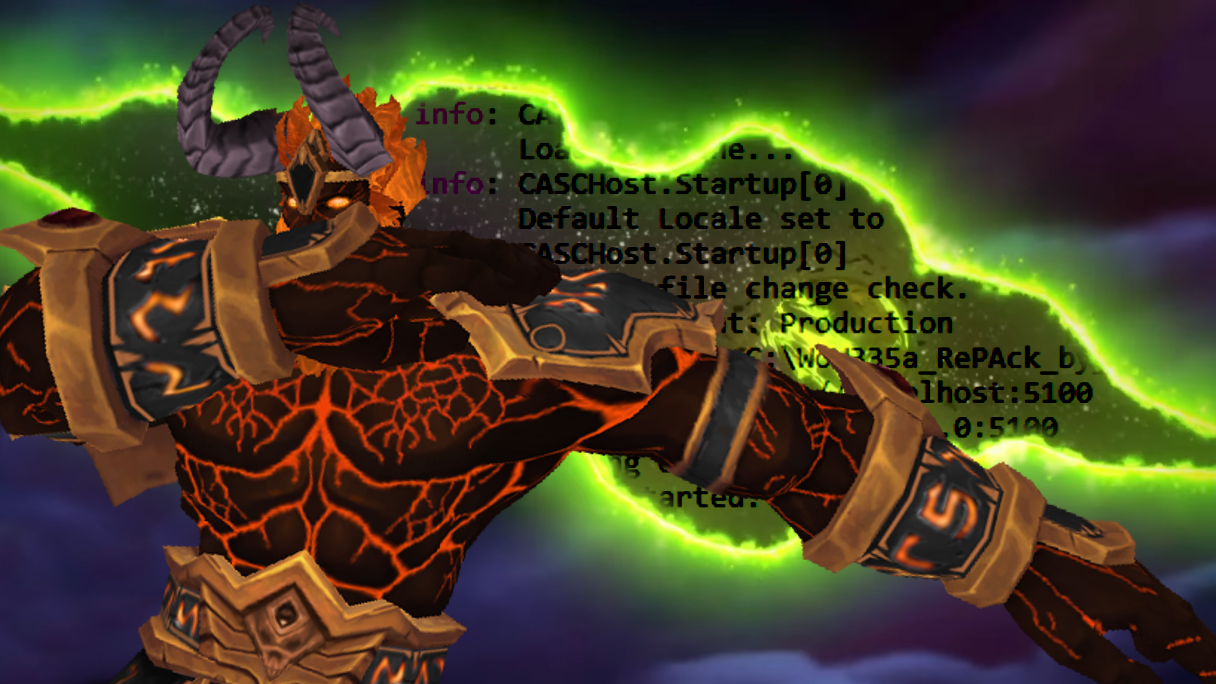
CASCHost allows you to build and host your own CAS container, which is needed to deploy patches to WoD, Legion, and BfA clients with their new file system. Credits to @barncastle, Maku, @luzifix, and tspearman. Latest version can also be found in the GitHub Repository Installation and usage guide: -
Plain image version:
-
Your best bet is https://darknestfantasy.com/
-

How to find an AppareanceID of an physical item
Смердокрыл replied to Parallax 's topic in Miscellaneous
You'll need to edit your world and hotfixes tables, where the latter basically replicate client-side db2s. The editing you just do with any sql editor, and you can use https://wow.tools/dbc/ to browse existing db2 records. To figure out how the various db2s relate to each other, and where AppearanceID comes into play, take a look at -
Plain image version:
-
Plain image version:
-

Version 1.0.0
131 downloads
A little tool to quickly convert to bitmask and back, e.g. for editing RaceMask and ClassMask fields in DBCs. Usage example - getting RaceMask for races Human (1), Gnome (7), and Void Elf (29): Written in Python and compiled with PyInstaller. -
Plain image version:
-
Version 1.0 alpha
564 downloads
A user-friendly GameMaster and Developer addon. Supports the latest TrinityCore Master, as well as (presumably) previous expansions. !Early Alpha! Inspired by an old Blizzcon video where parts of the GM interface were revealed (unfortunately, I have since been unable to find it again), and annoyed by the useful yet horrendously designed addons such as GMGenie and TrinityAdmin, I decided to make one of my own1. The end goal is a simplistic Warcraft-style interface for executing the commonly used GM commands. I am still quite far away from it. Features: Convenient toggle-style buttons for the on/off functionality Toggle-able and moveable panels for different utilities Sliders for semiautomatic selection of values Morph panel with dynamic preview -
Also: CASCHost was not working with WoW BfA at all, until our dearly beloved @MaxtorCoder turned up and saved the day. Praised be @MaxtorCoder! ???
-
[Update 1] Added a section on patching the Arctium Custom Connection Launcher
-
https://github.com/Resike/BlizzardInterfaceCode/blob/live/Interface/AddOns/Blizzard_GuildControlUI/Blizzard_GuildControlUI.lua MAX_GUILDRANKS = 10;
-